
project brief
The project assignment was to design a Bluetooth speaker housing using SolidWorks, assemble and solder the electrical components needed for the speaker, 3D print, sand, and finish the housing, and assemble these components to produce a functioning Bluetooth speaker.
The required electrical components were supplied to us, but we ordered our own batteries and drivers. As a result, many different kinds of speakers were built for a variety of purposes.
The user
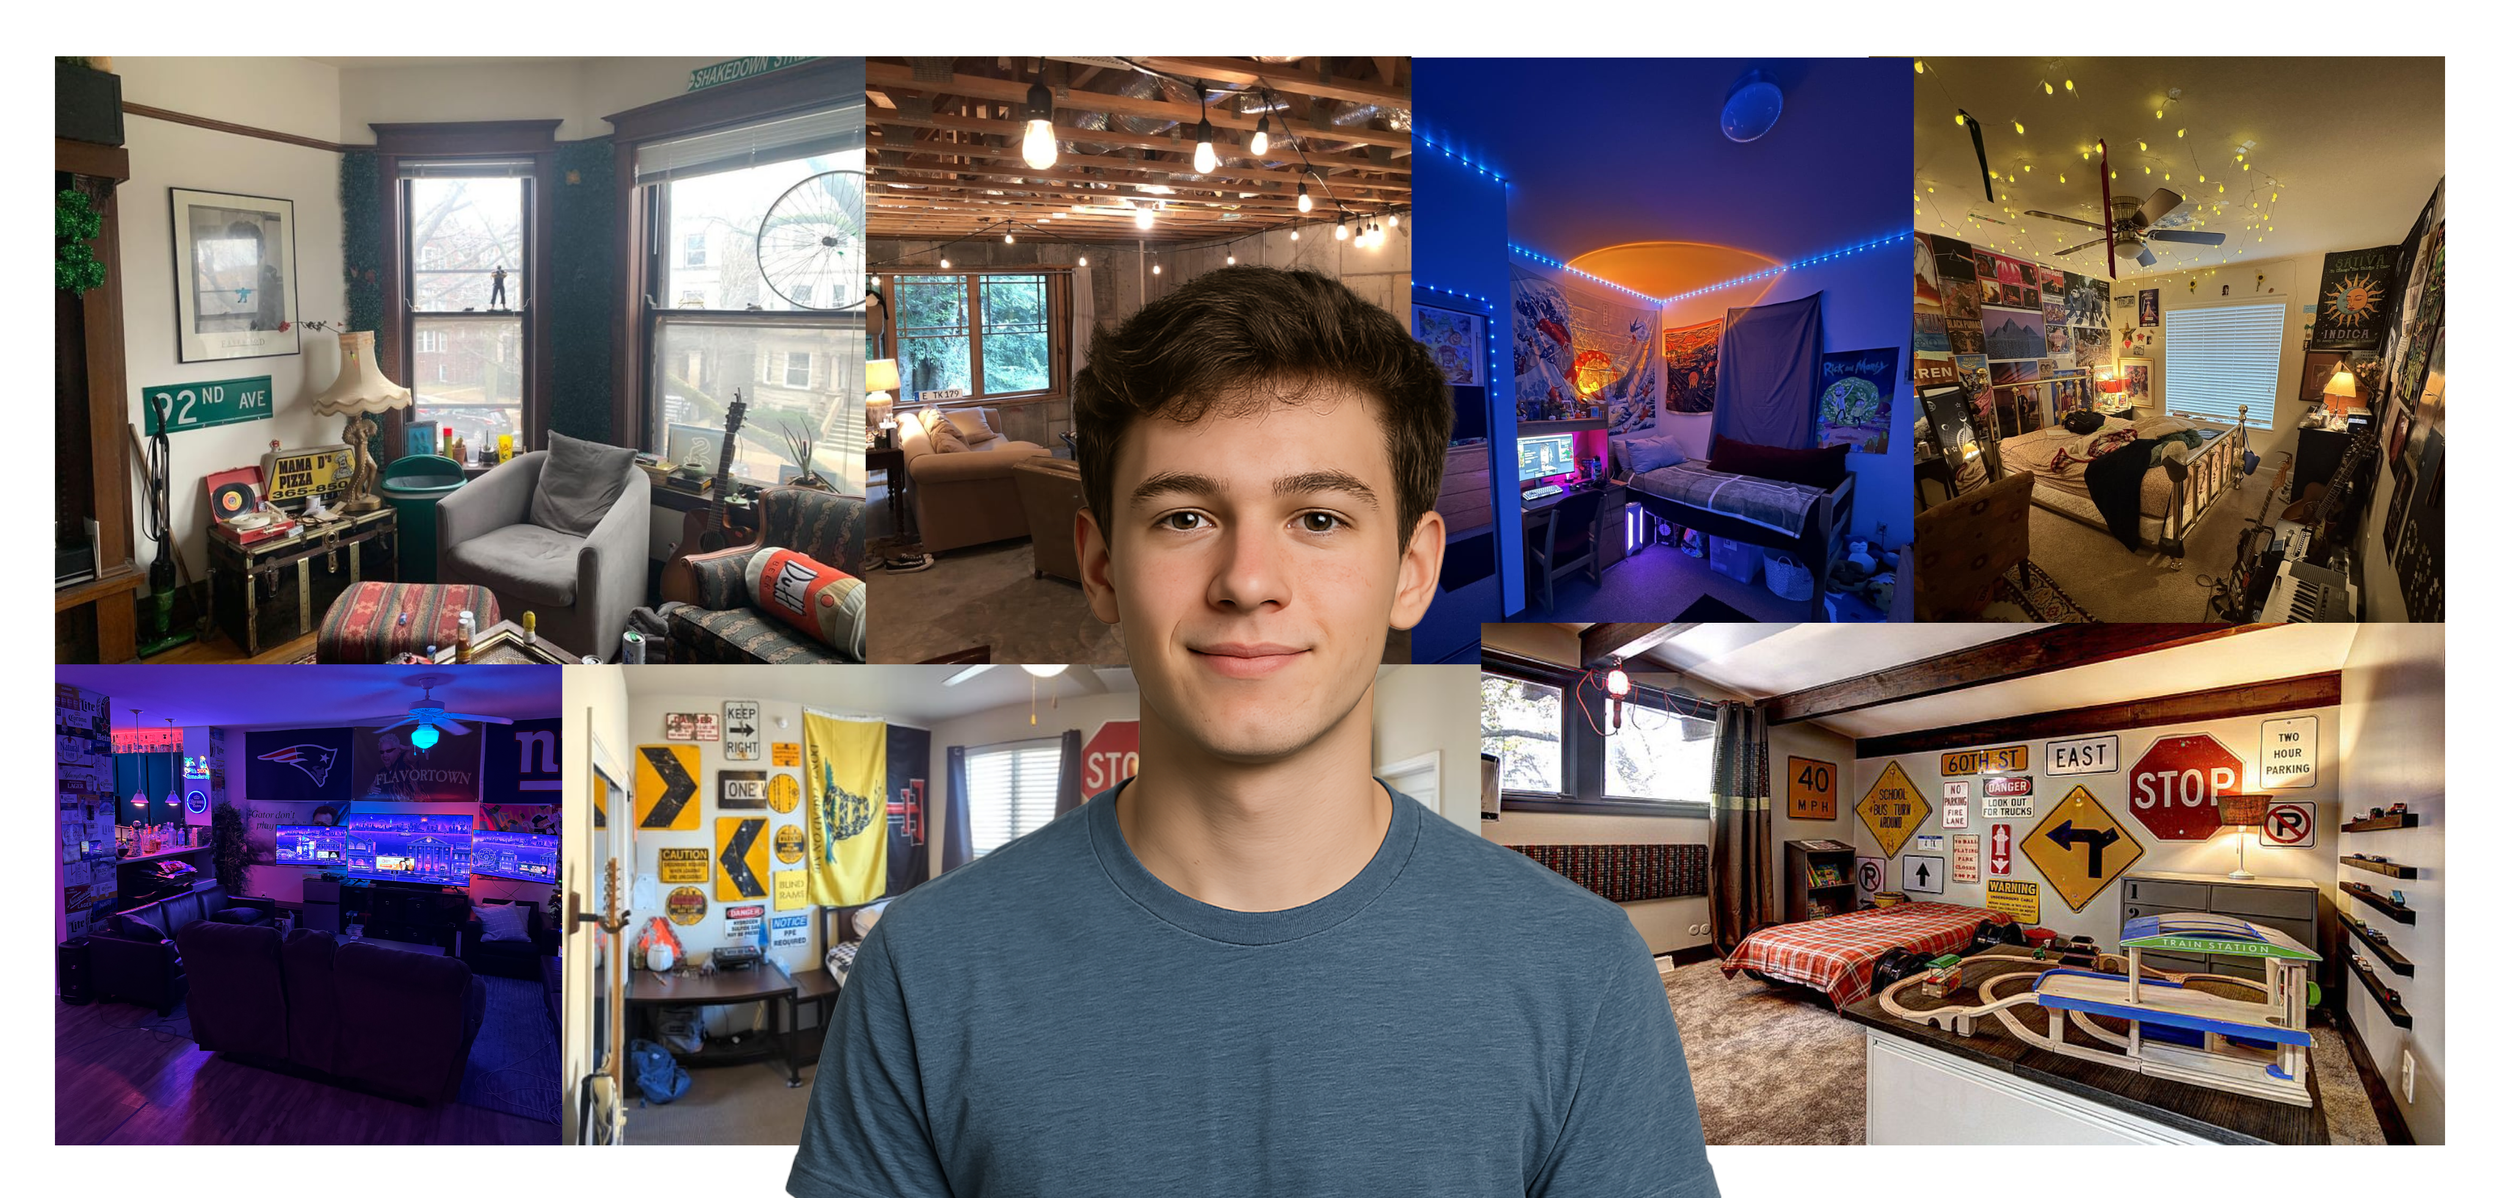
The user I decided to design for is a 16-23 year old male who is either in high school or college. Given the project constraints of building a Bluetooth speaker on a budget, I decided to design for a sector of the market that is ok with lesser sound quality in exchange for an affordable price point.
The user is excited about decorating their hangout space. They finally have some money in their pockets from starting to work, and have the independence and resources to decorate. Because they are excitedly new to decorating, they go for a maximalist and fun look, including many novelty items.
Research on Acoustics
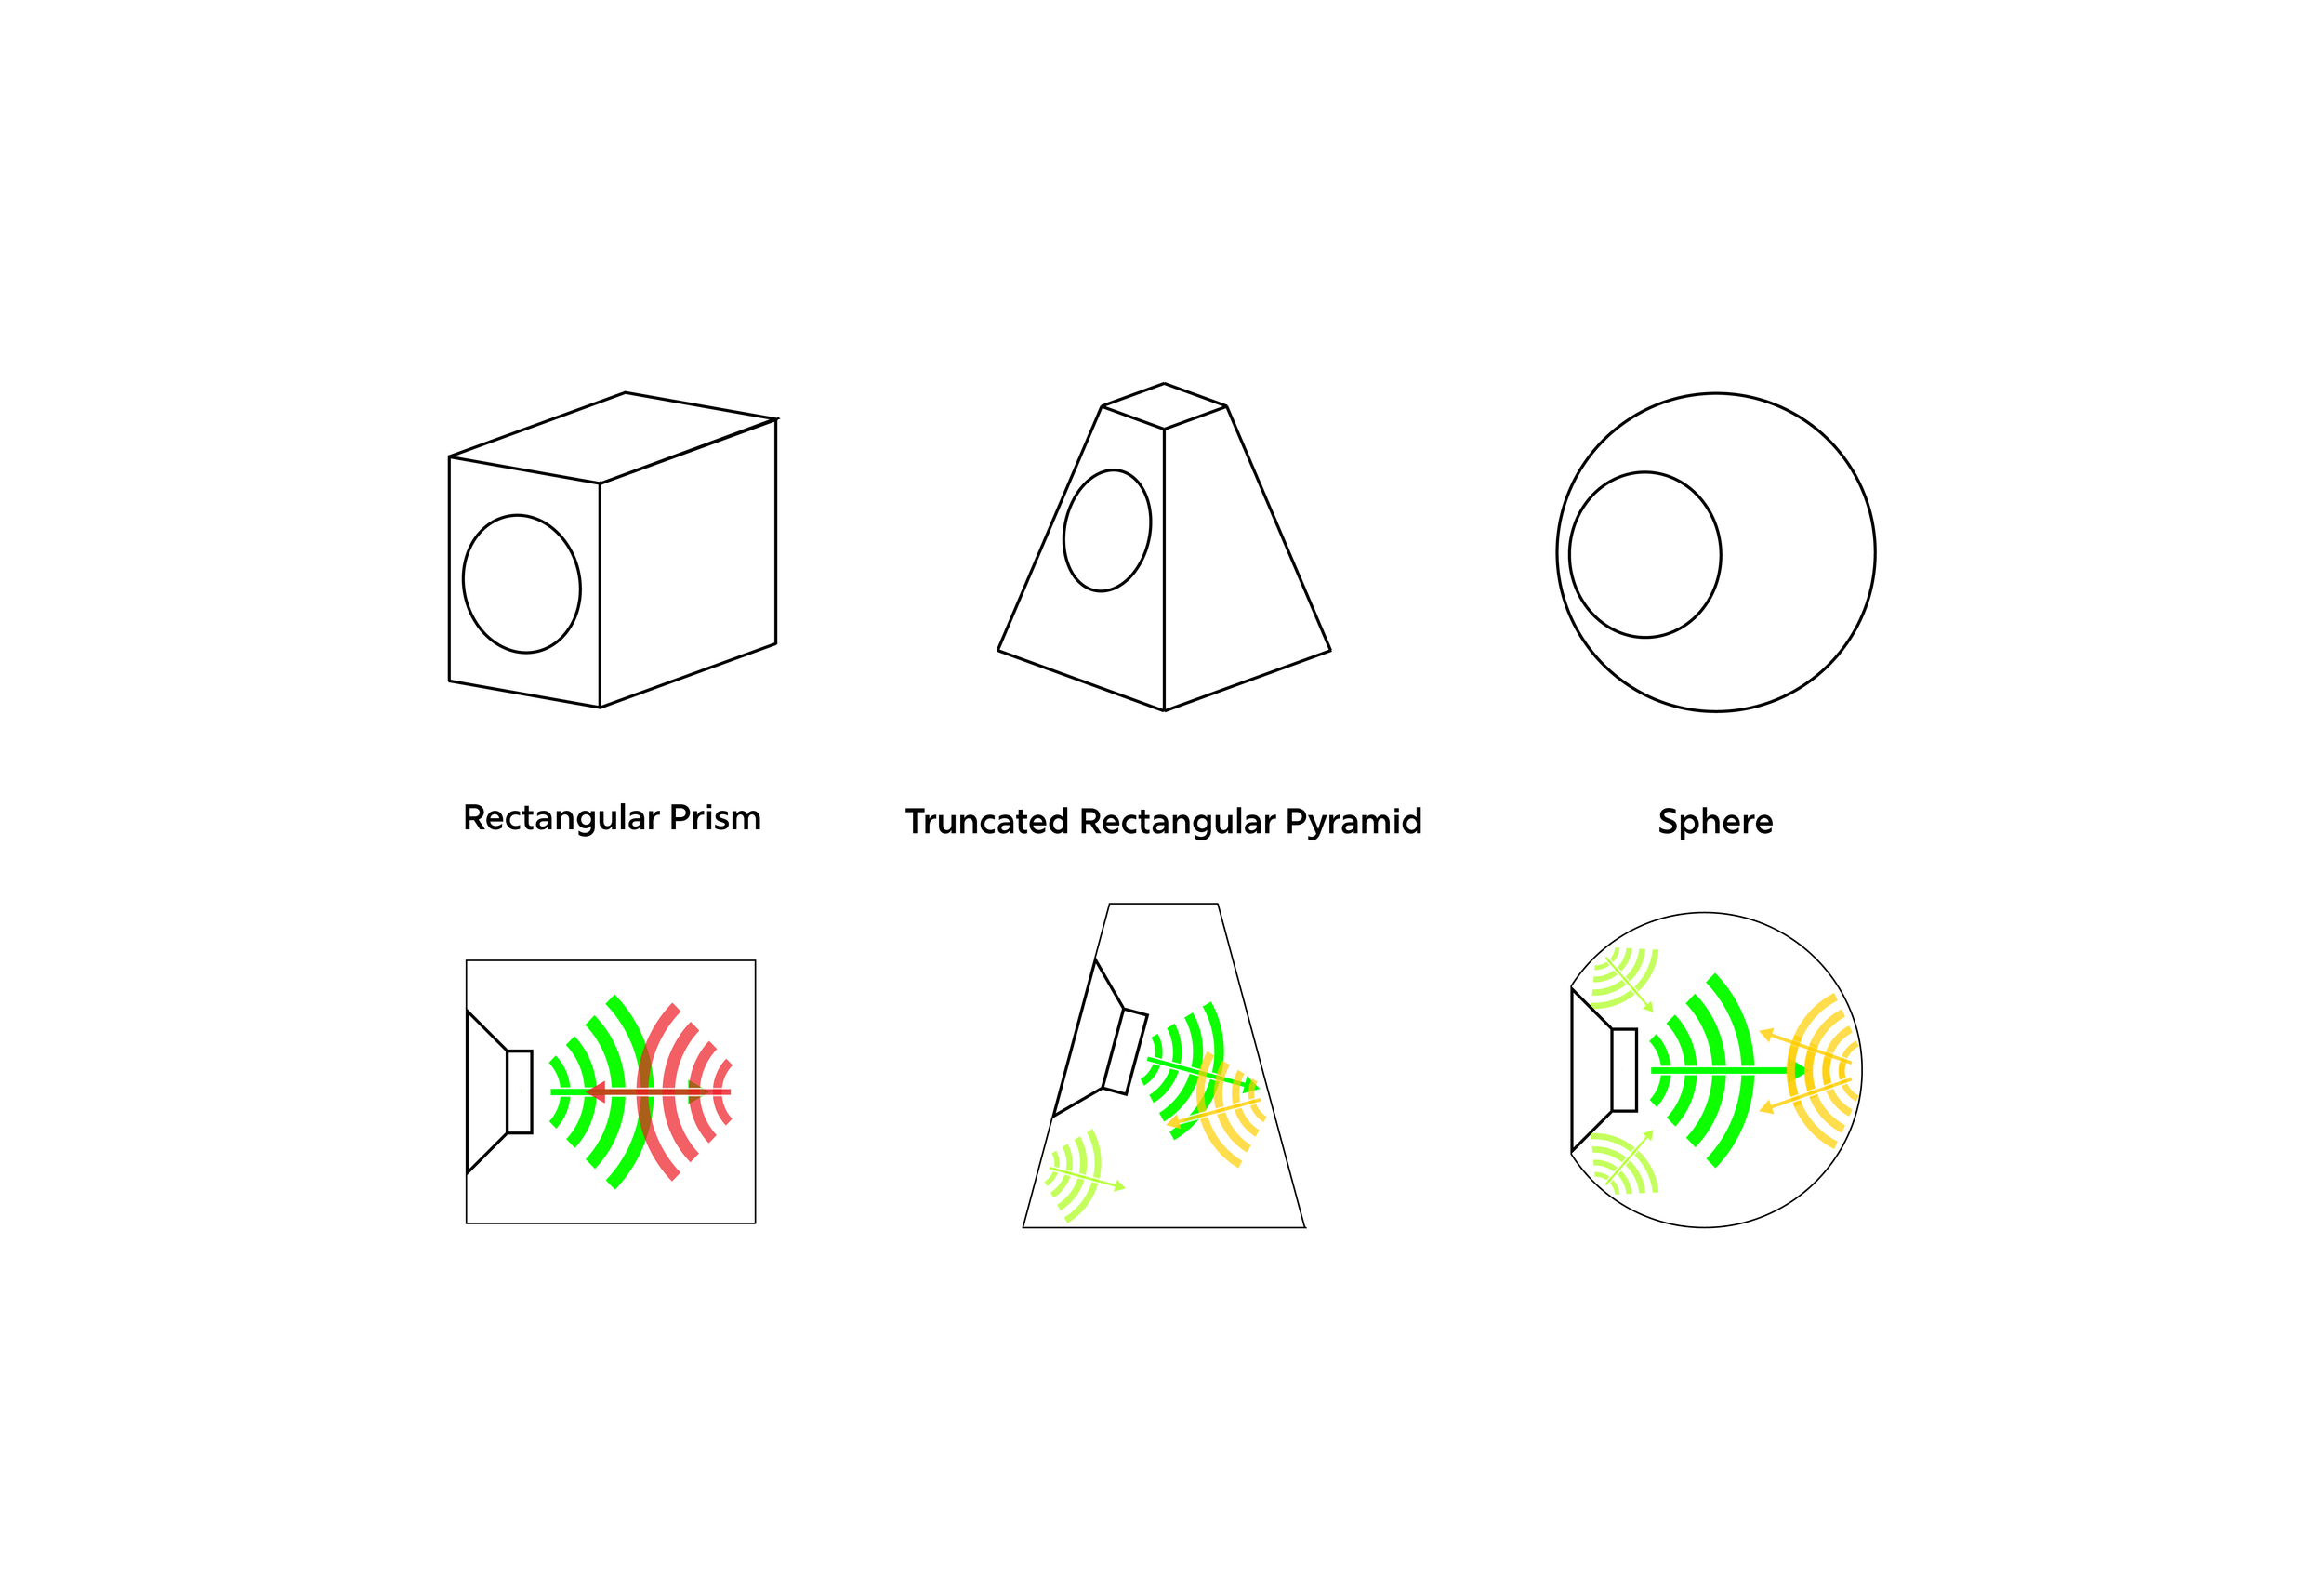
No parallel faces inside the enclosure. Parallel surfaces inside the speaker enclosure allow sound waves to bounce back and forth directly into each other, disrupting quality audio experiences. The diagram above shows how enclosures without parallel walls prevent sound waves from directly impacting each other.
A baffle is beneficial. Having a flat surface around the exterior of the driver provides an intentional flat surface for sound to bounce off of towards the listener.
For simplicity, I decided on designing around using full-range drivers for my speaker rather than a combination of drivers, tweeters, and subwoofers.
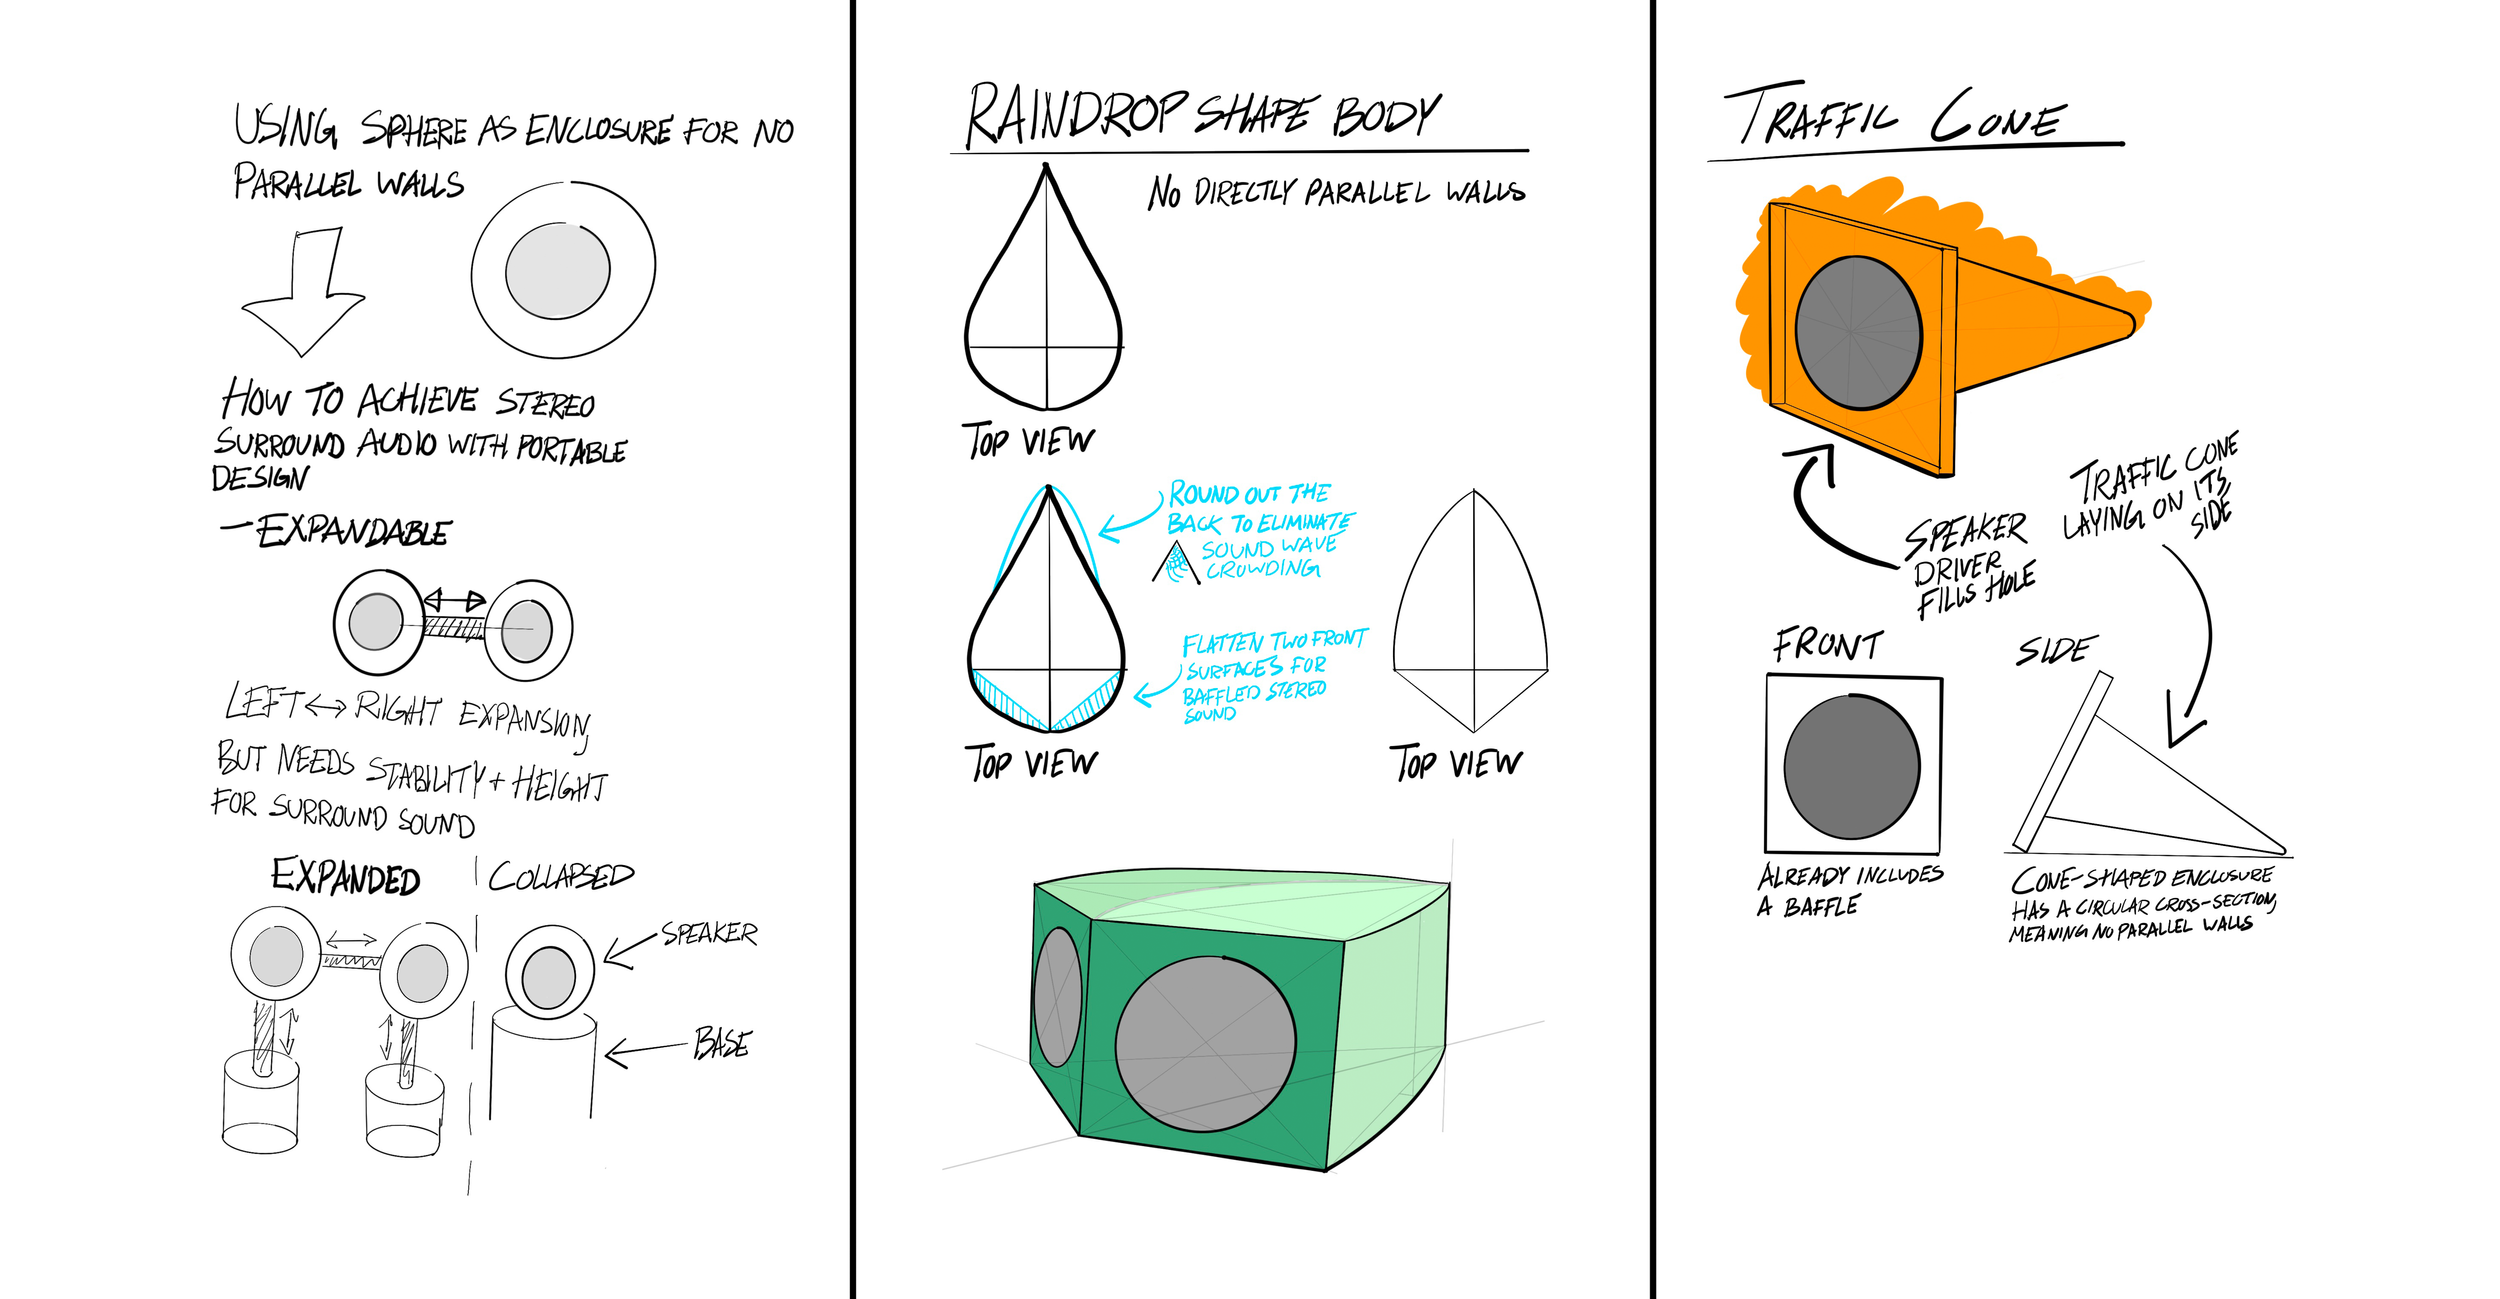
Rules of Ideation
Acoustic Priority: I decided that at the heart of any concept should be quality acoustics, even when designing at a lower price point. I don’t see the use in designing a speaker that may fit the bill visually but does not sound good enough to see use.
Form: Most speakers on the market that strive to have good sound quality are designed to be geometrically simple in form. I wanted to challenge this norm and create a visually interesting speaker primarily through eye-catching form.
Originality: At the crux of everything I do, I strive for originality. I want to be able to say that I designed this speaker.
What The Traffic Cone Accomplishes
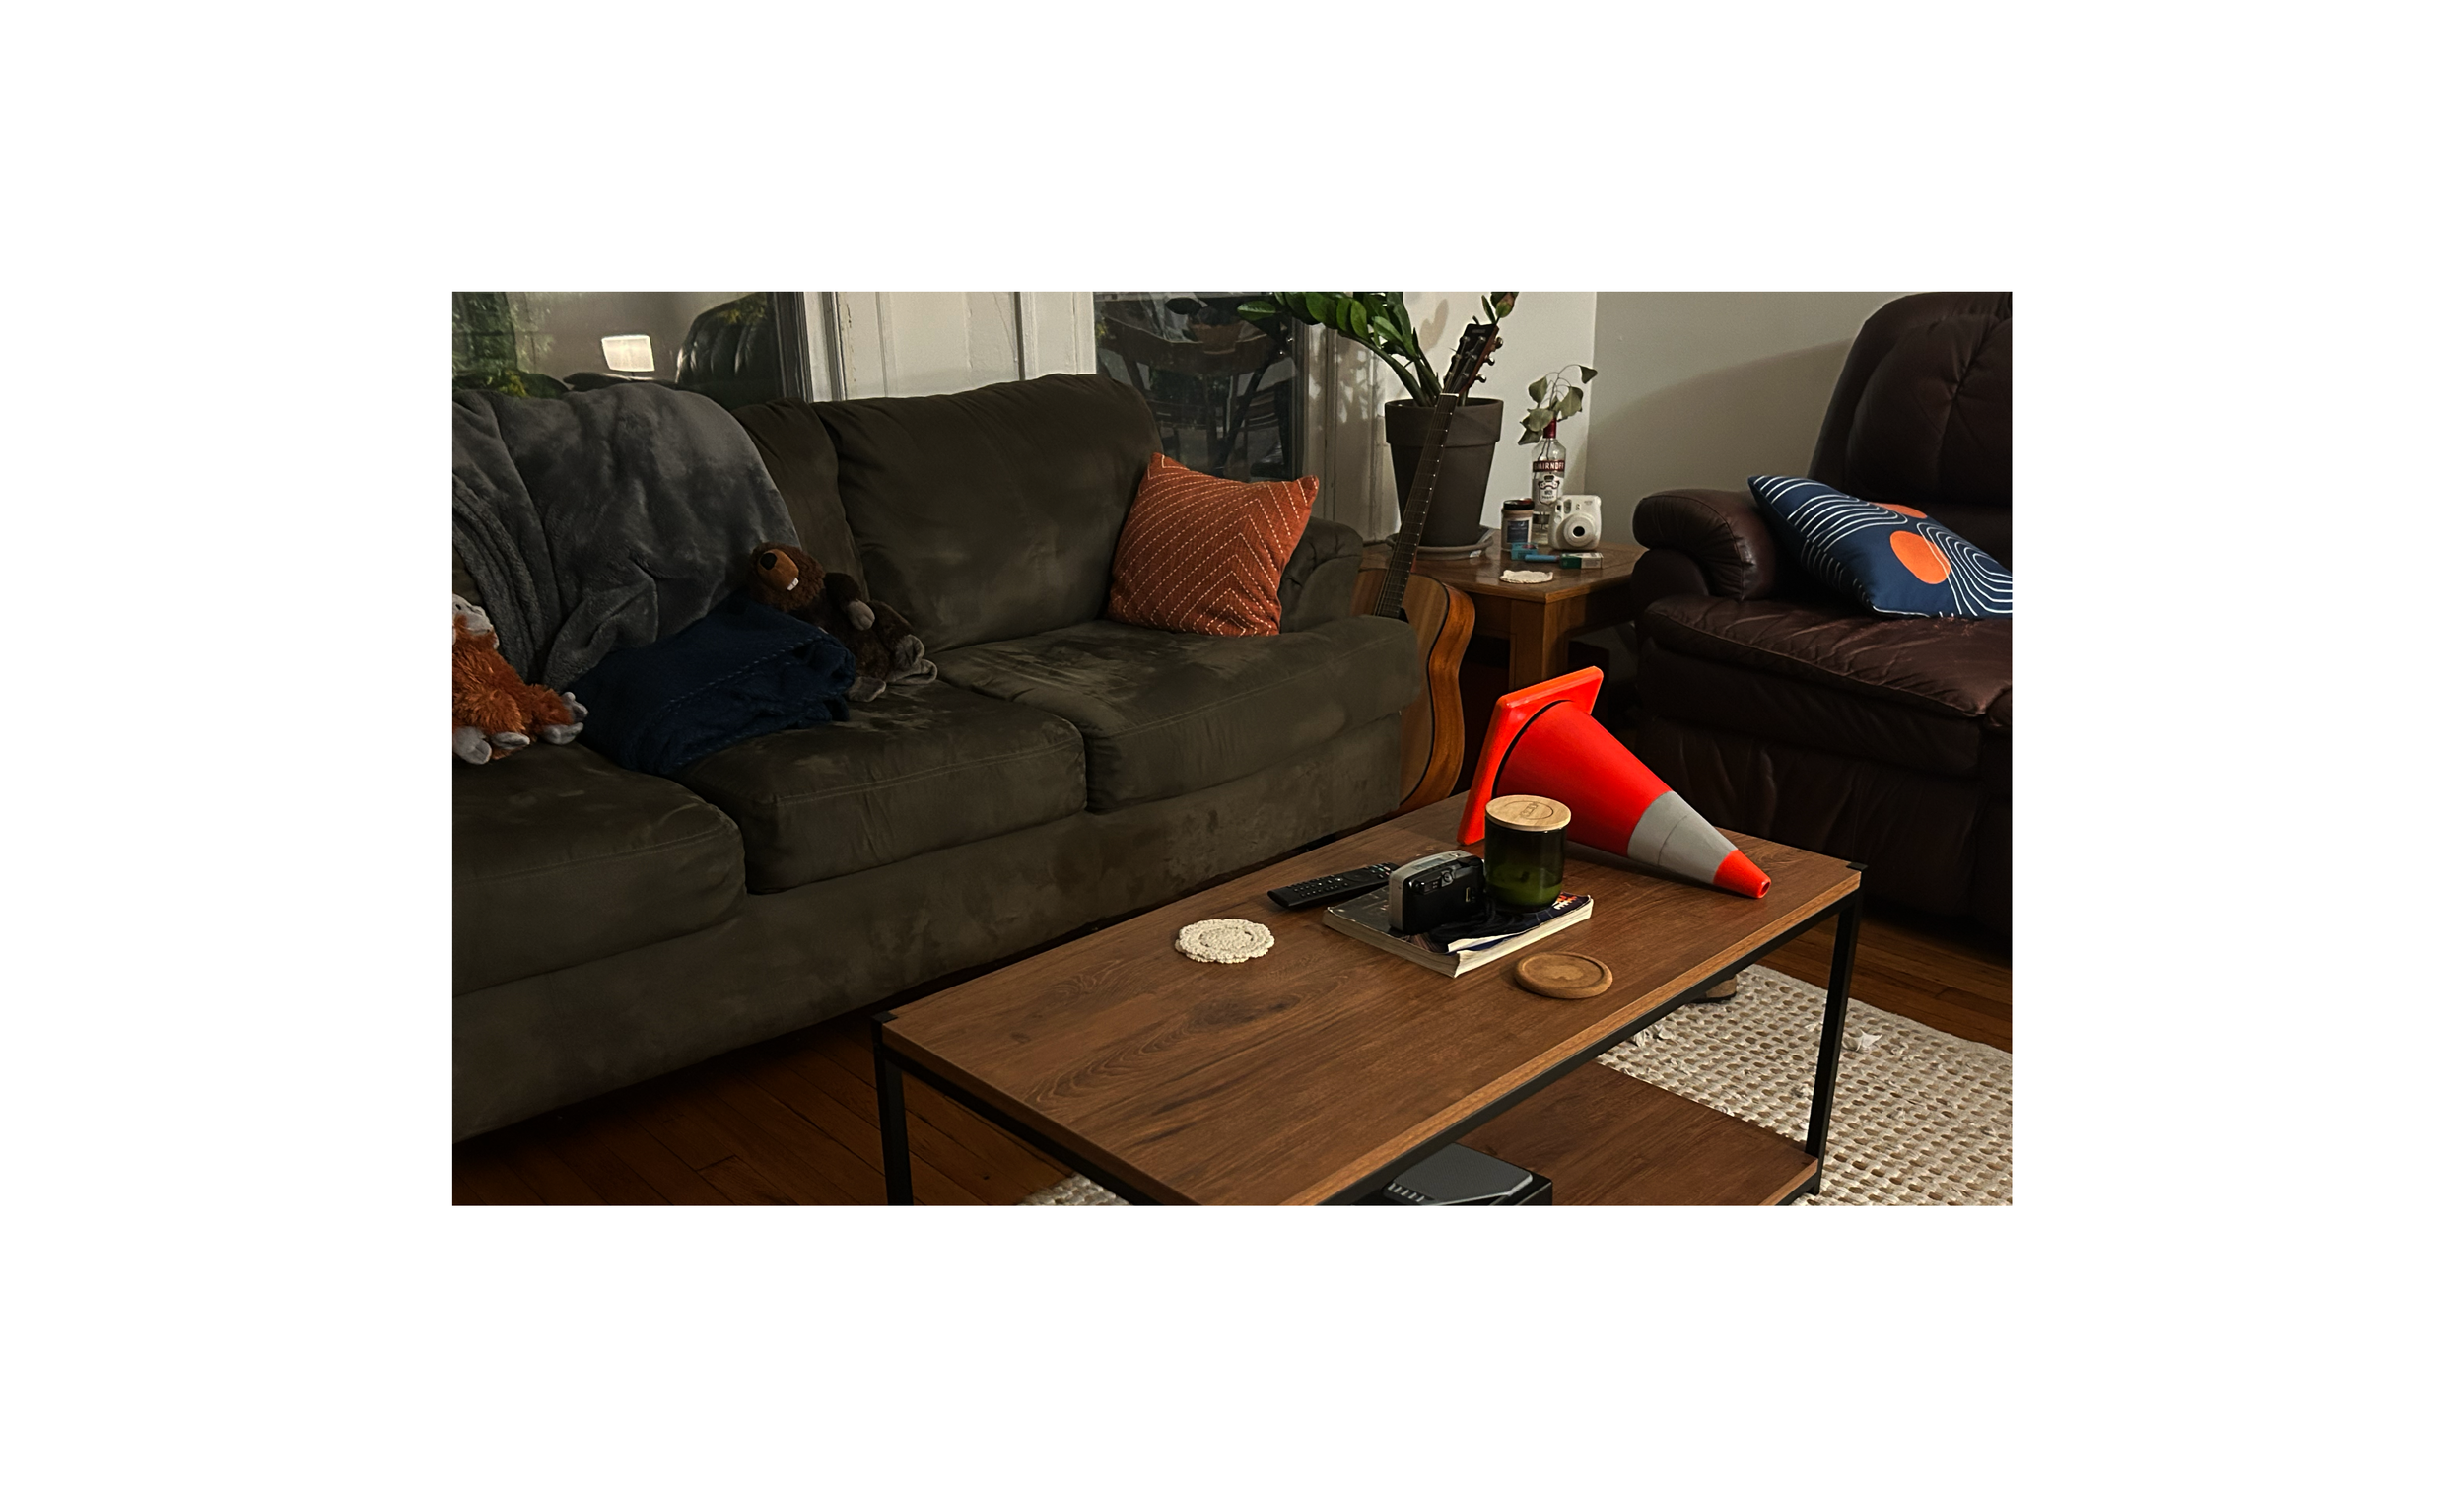
An everyday object that can easily become a quality speaker has the benefit of retaining its familiar appearance, which makes for a fun product that isn’t what it initially seems to be.
The traffic cone appeals to the user, who prefers a maximalist decorating style and novelty items. Given that the user is a young driver, street signs and other traffic items are sure to turn up as room decor, making the traffic cone speaker a seamless fit.
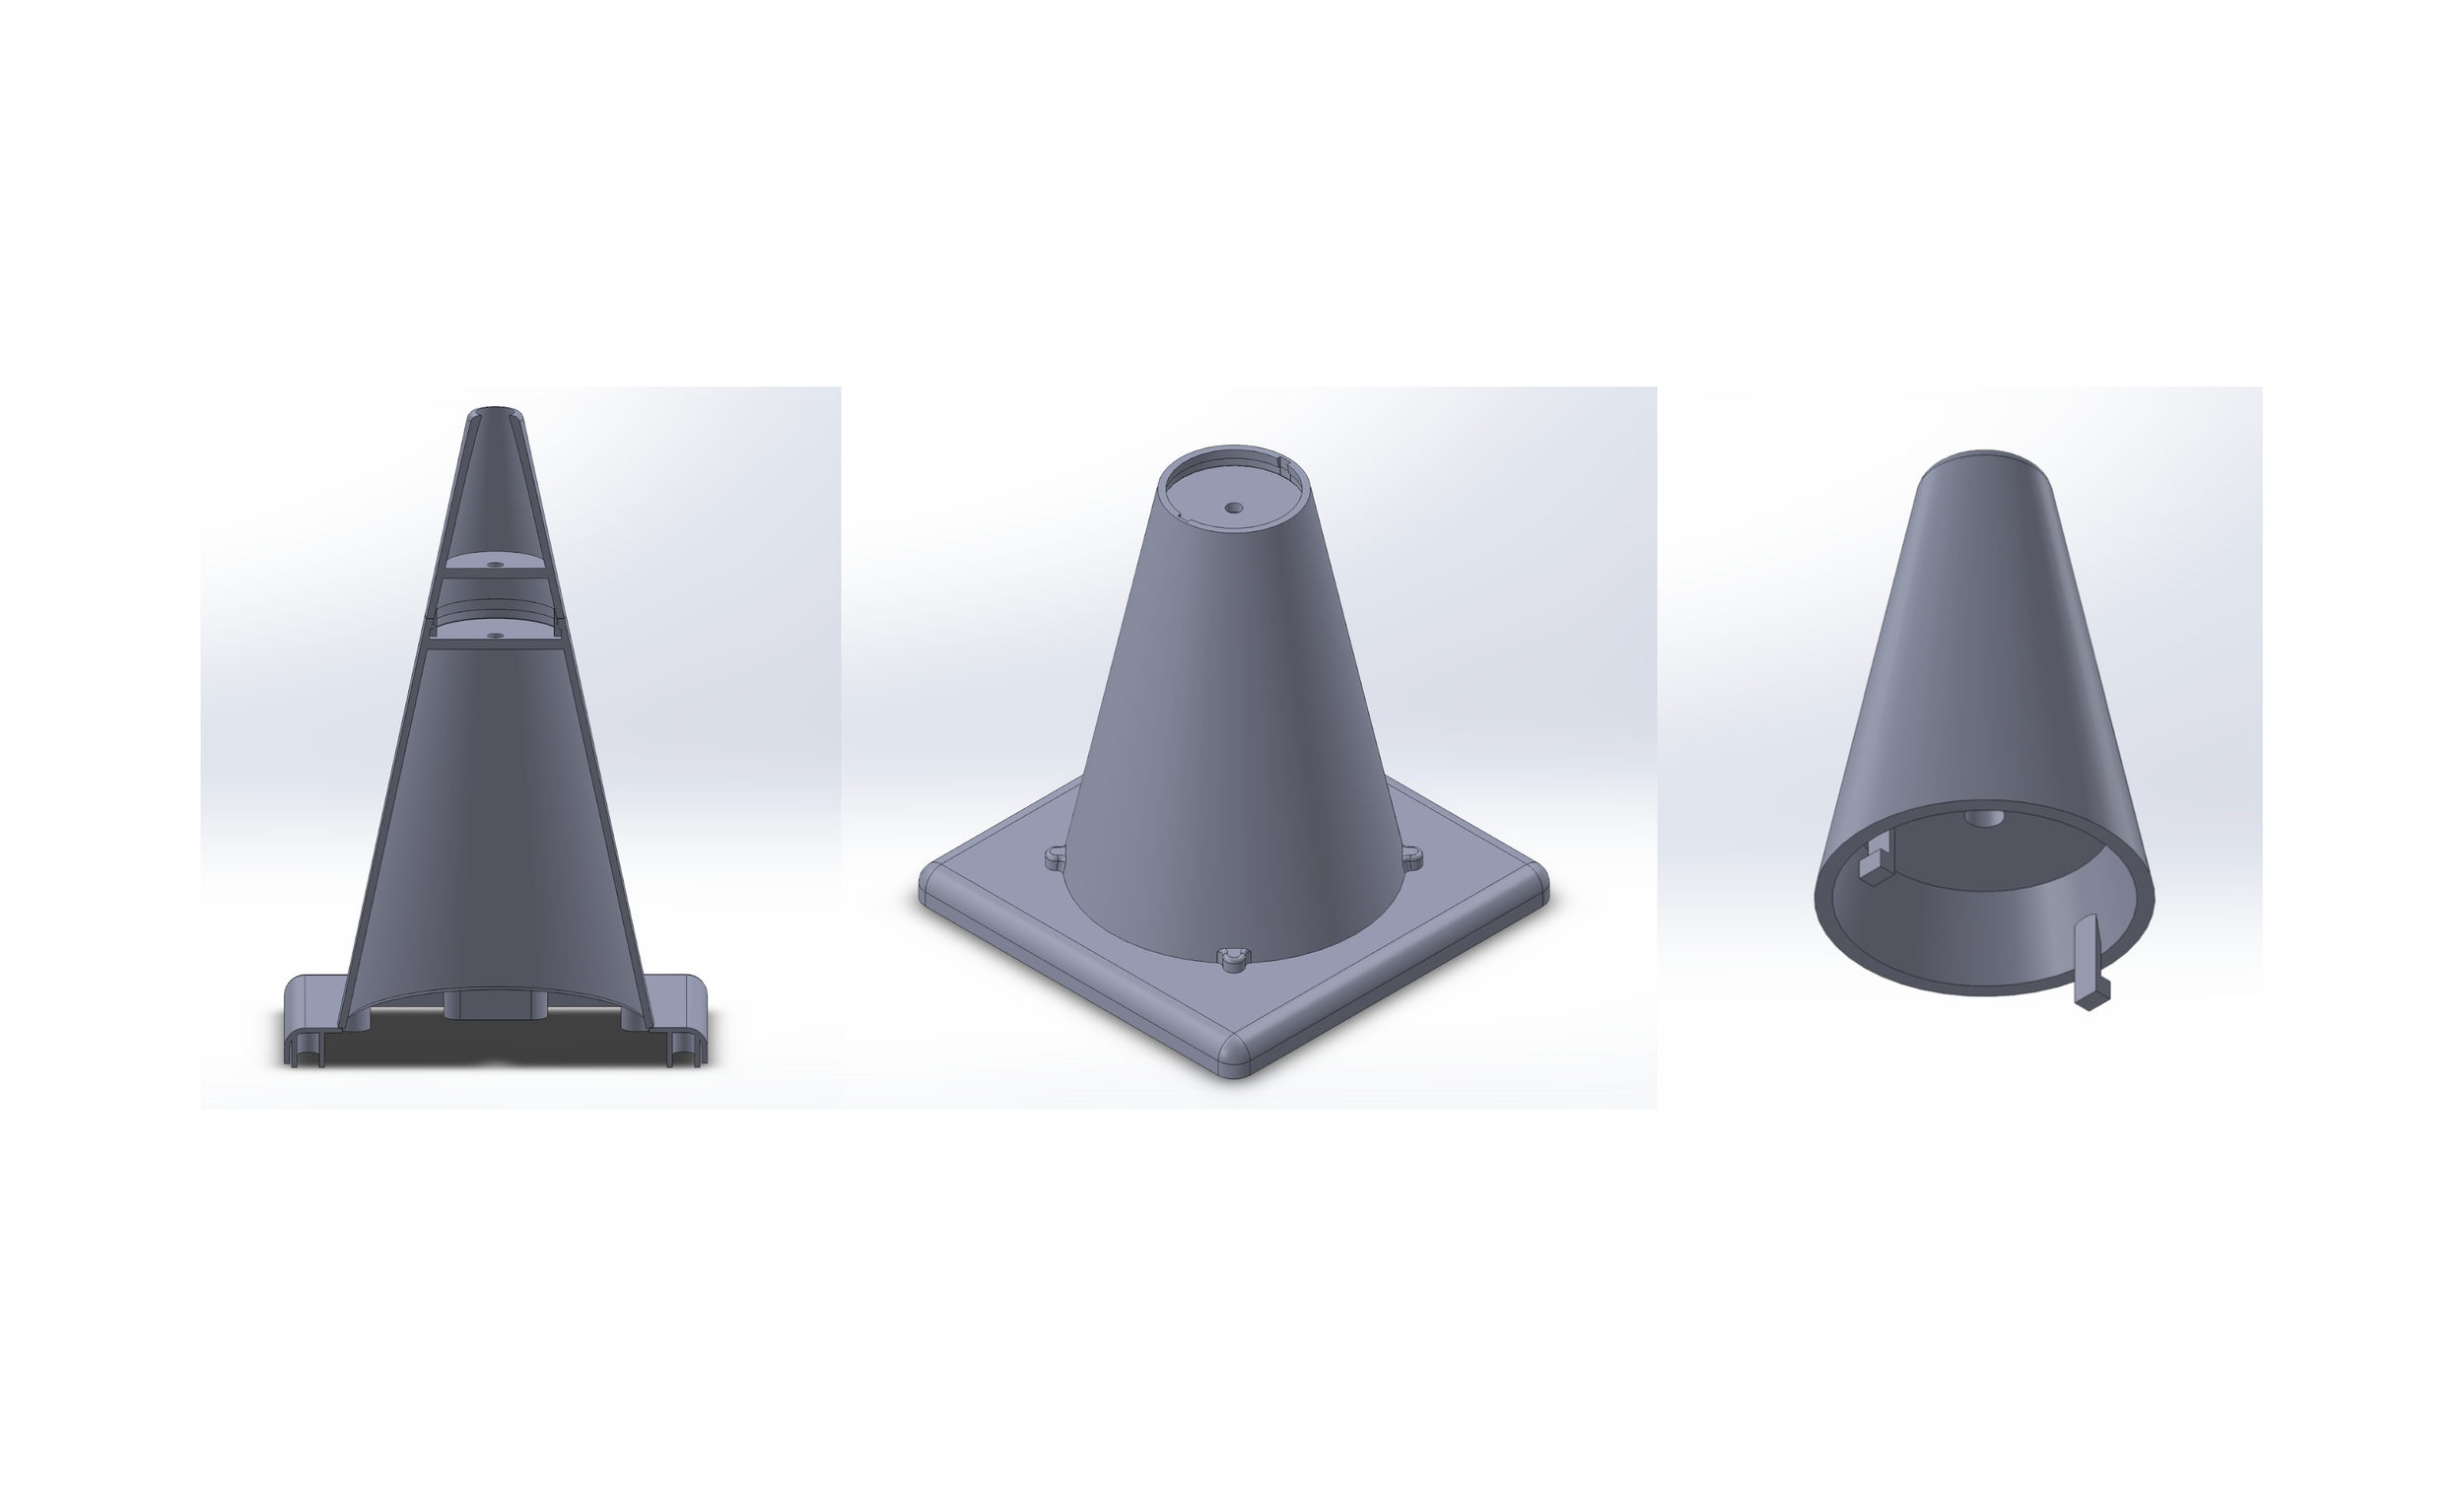
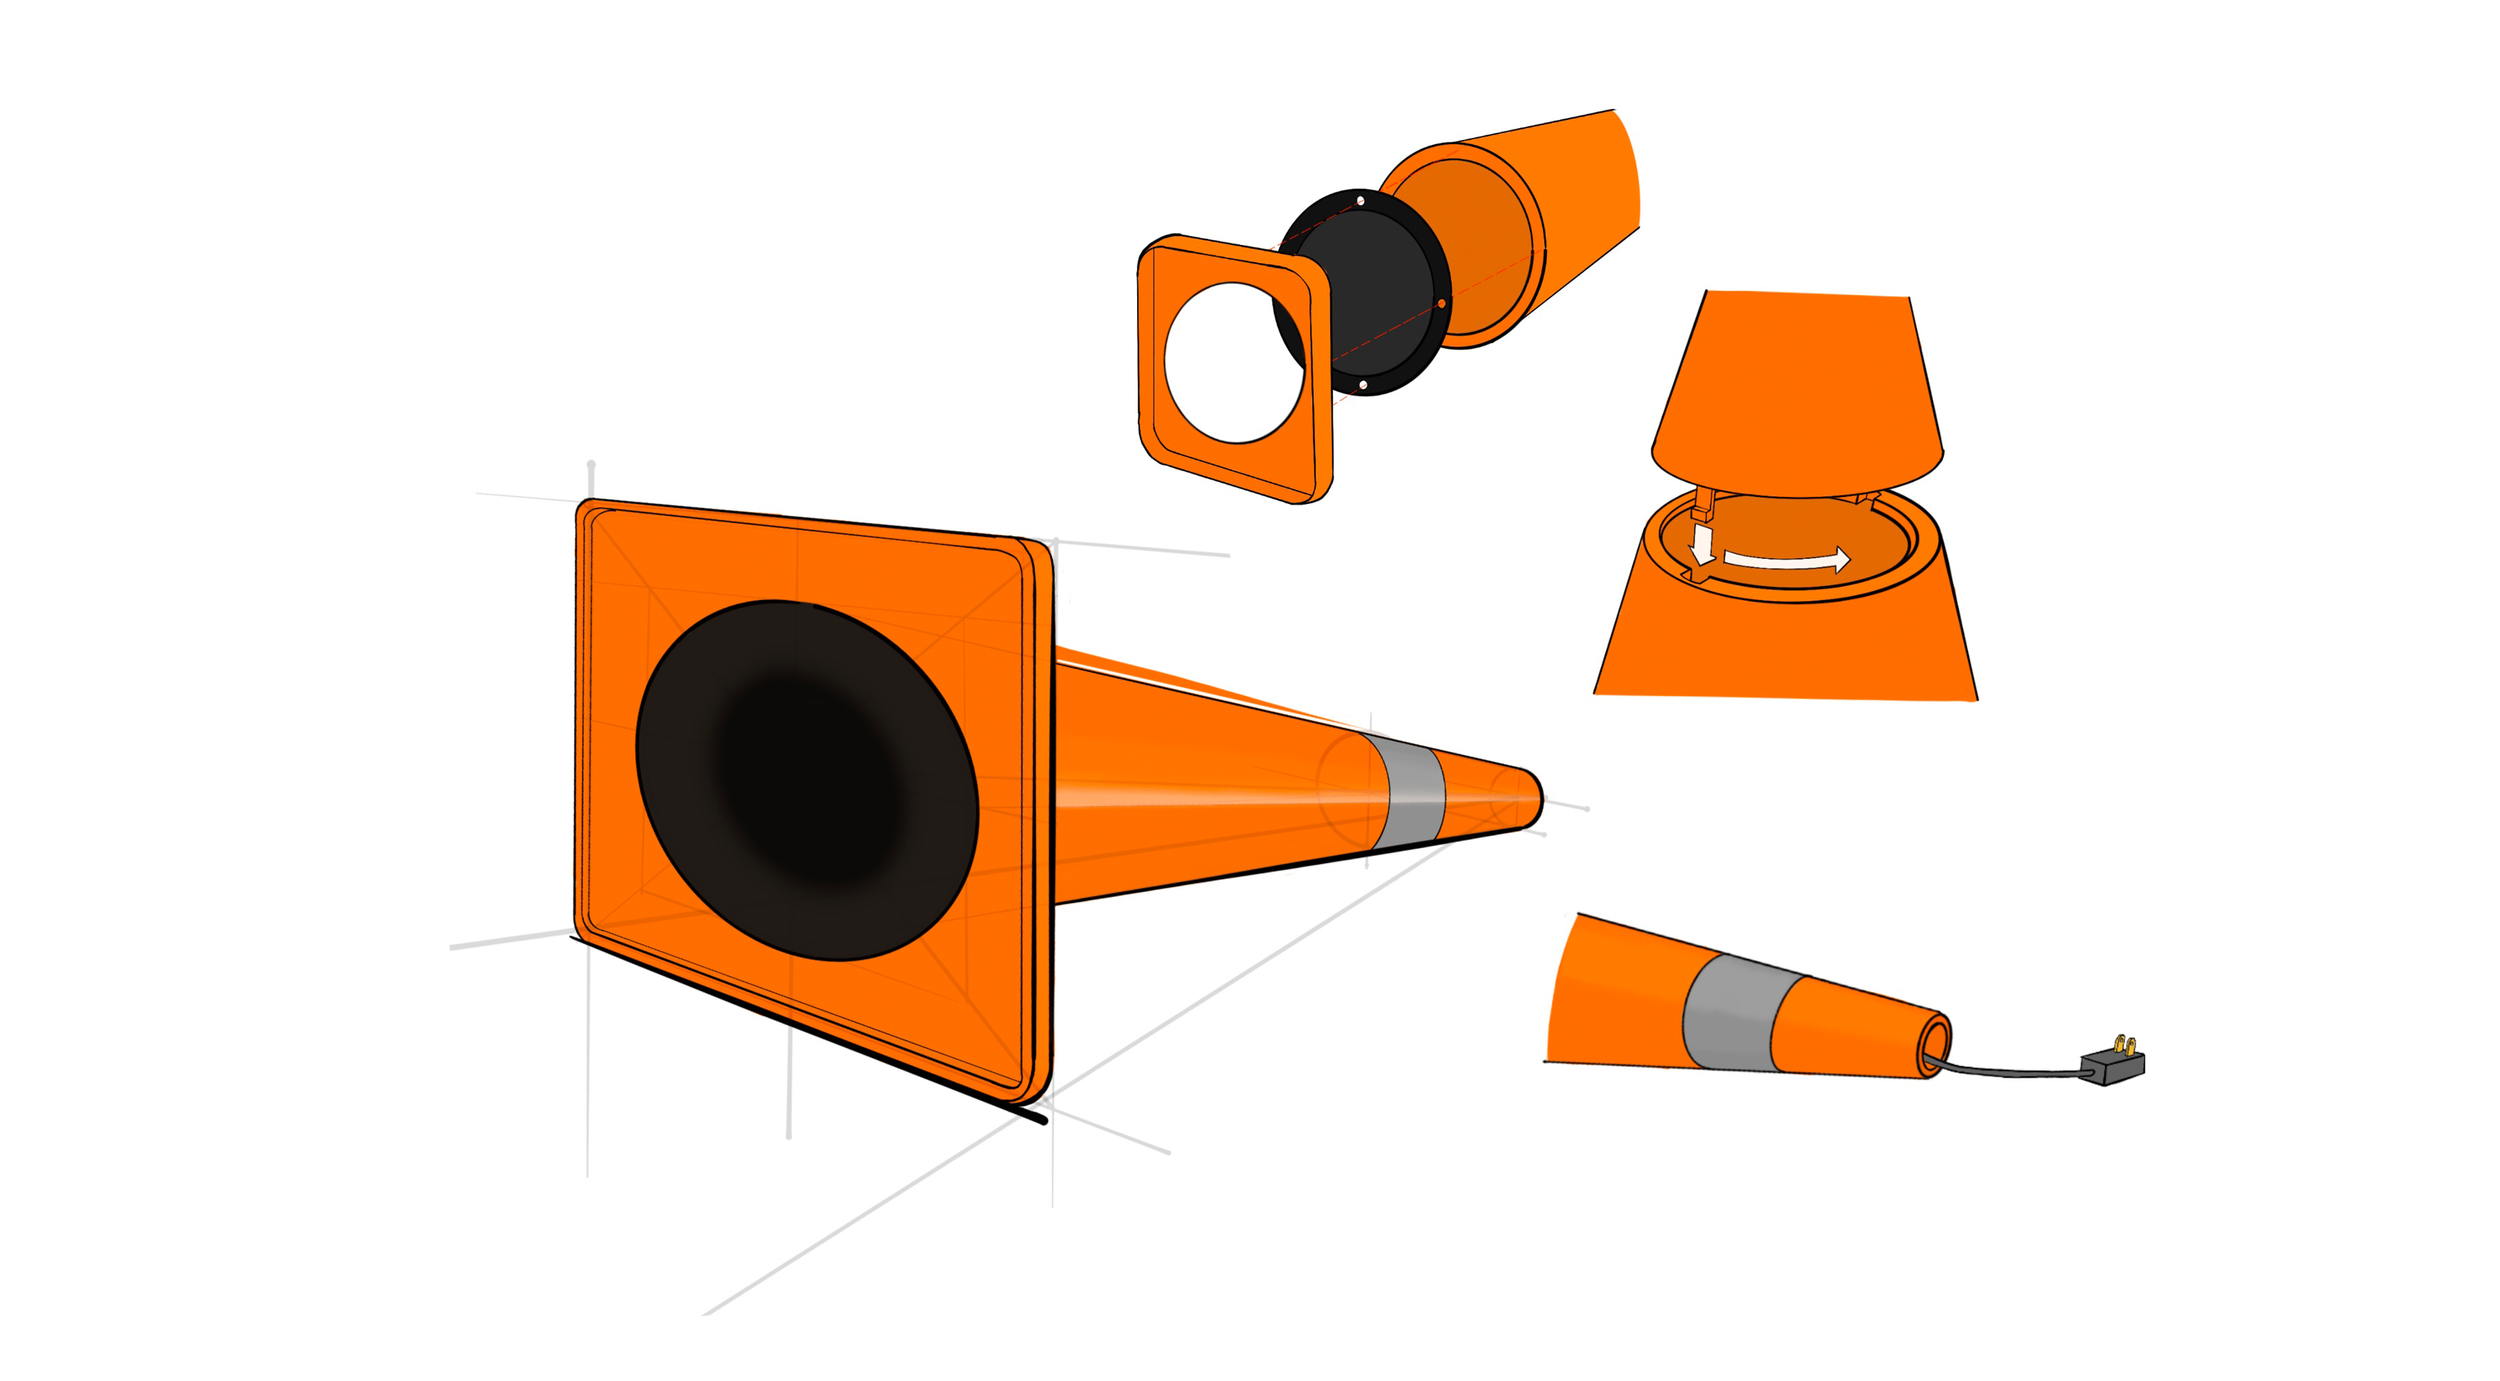
3D Modeling
I modeled the traffic cone in SolidWorks based on reference images of various traffic cones. Taking advantage of the size of the interior cavity naturally afforded by the cone’s form, I selected a huge speaker driver, scaling the rest of the traffic cone’s dimensions around the size of the driver.
The aim was to model the speaker as a three-part assembly; base, body, and tip. The speaker driver is secured with between the base and body components with screws, the internal electrical components are contained in a compartment formed between platforms in the body and tip, and the tip secures itself to the body with a slot-and-twist mechanism.
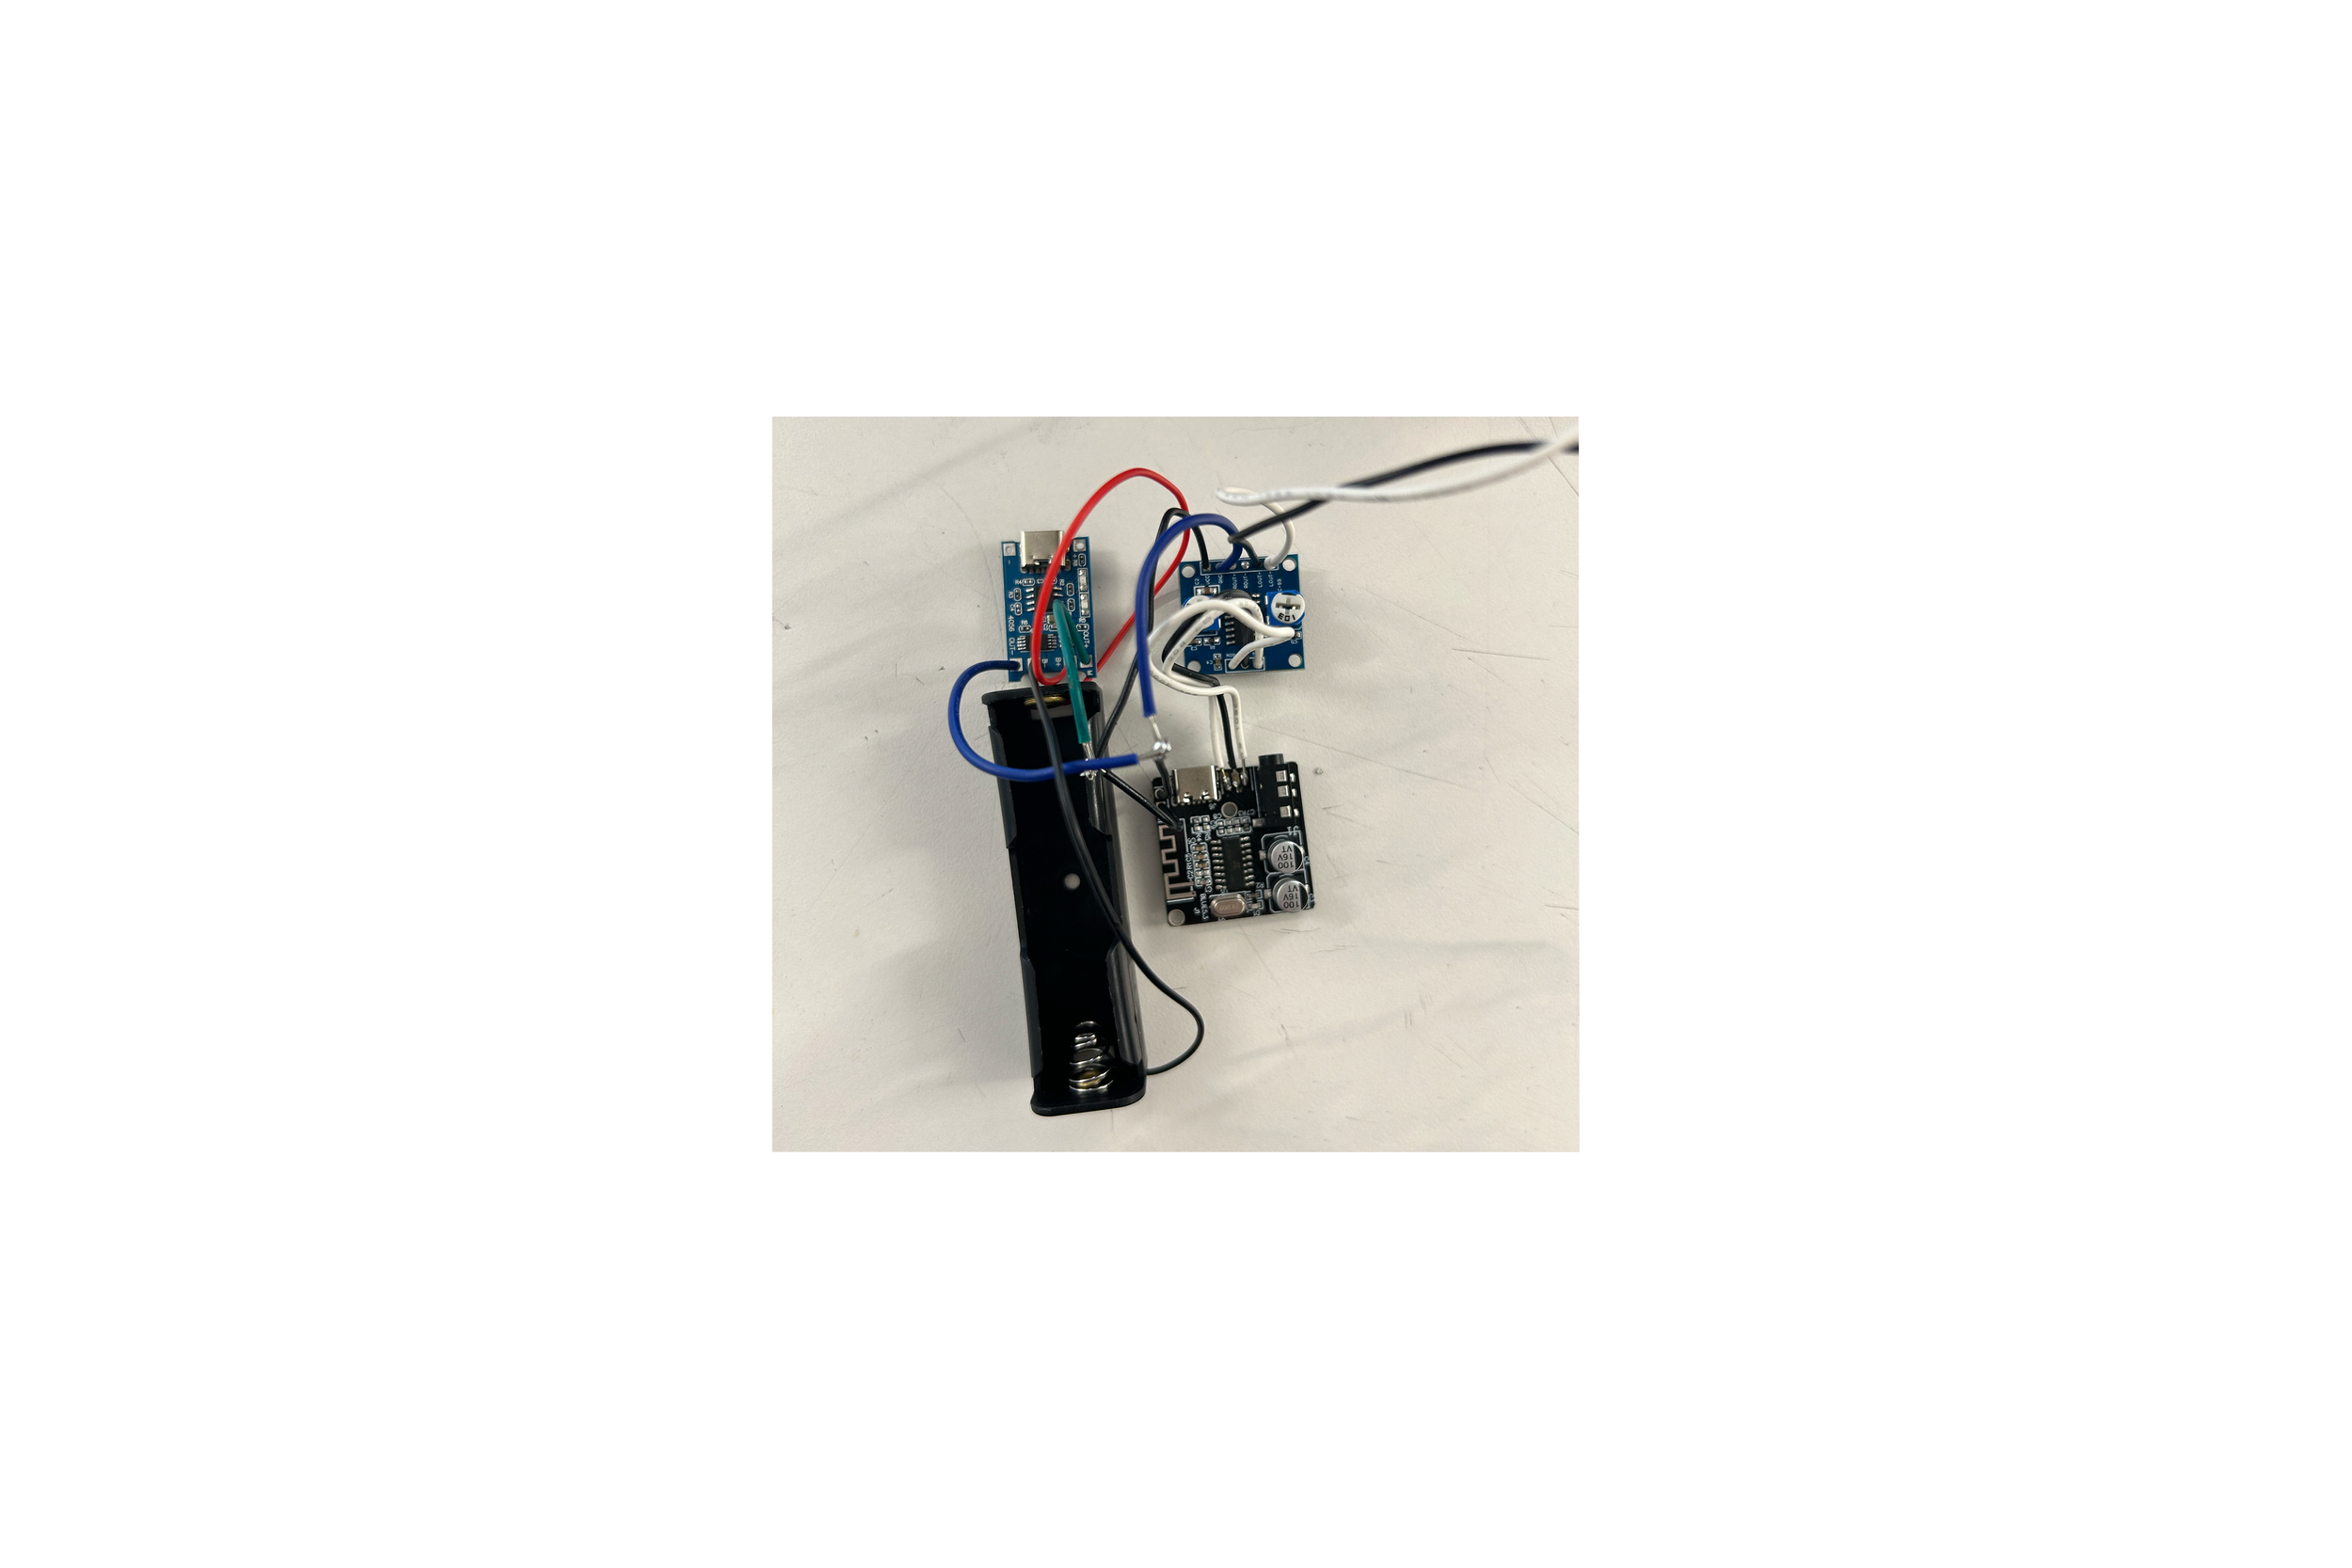
Electrical Work
The internal components consist of a Bluetooth receiver board, a charging board, an amplifier board, and a lithium-ion battery that are connected by soldered wires.
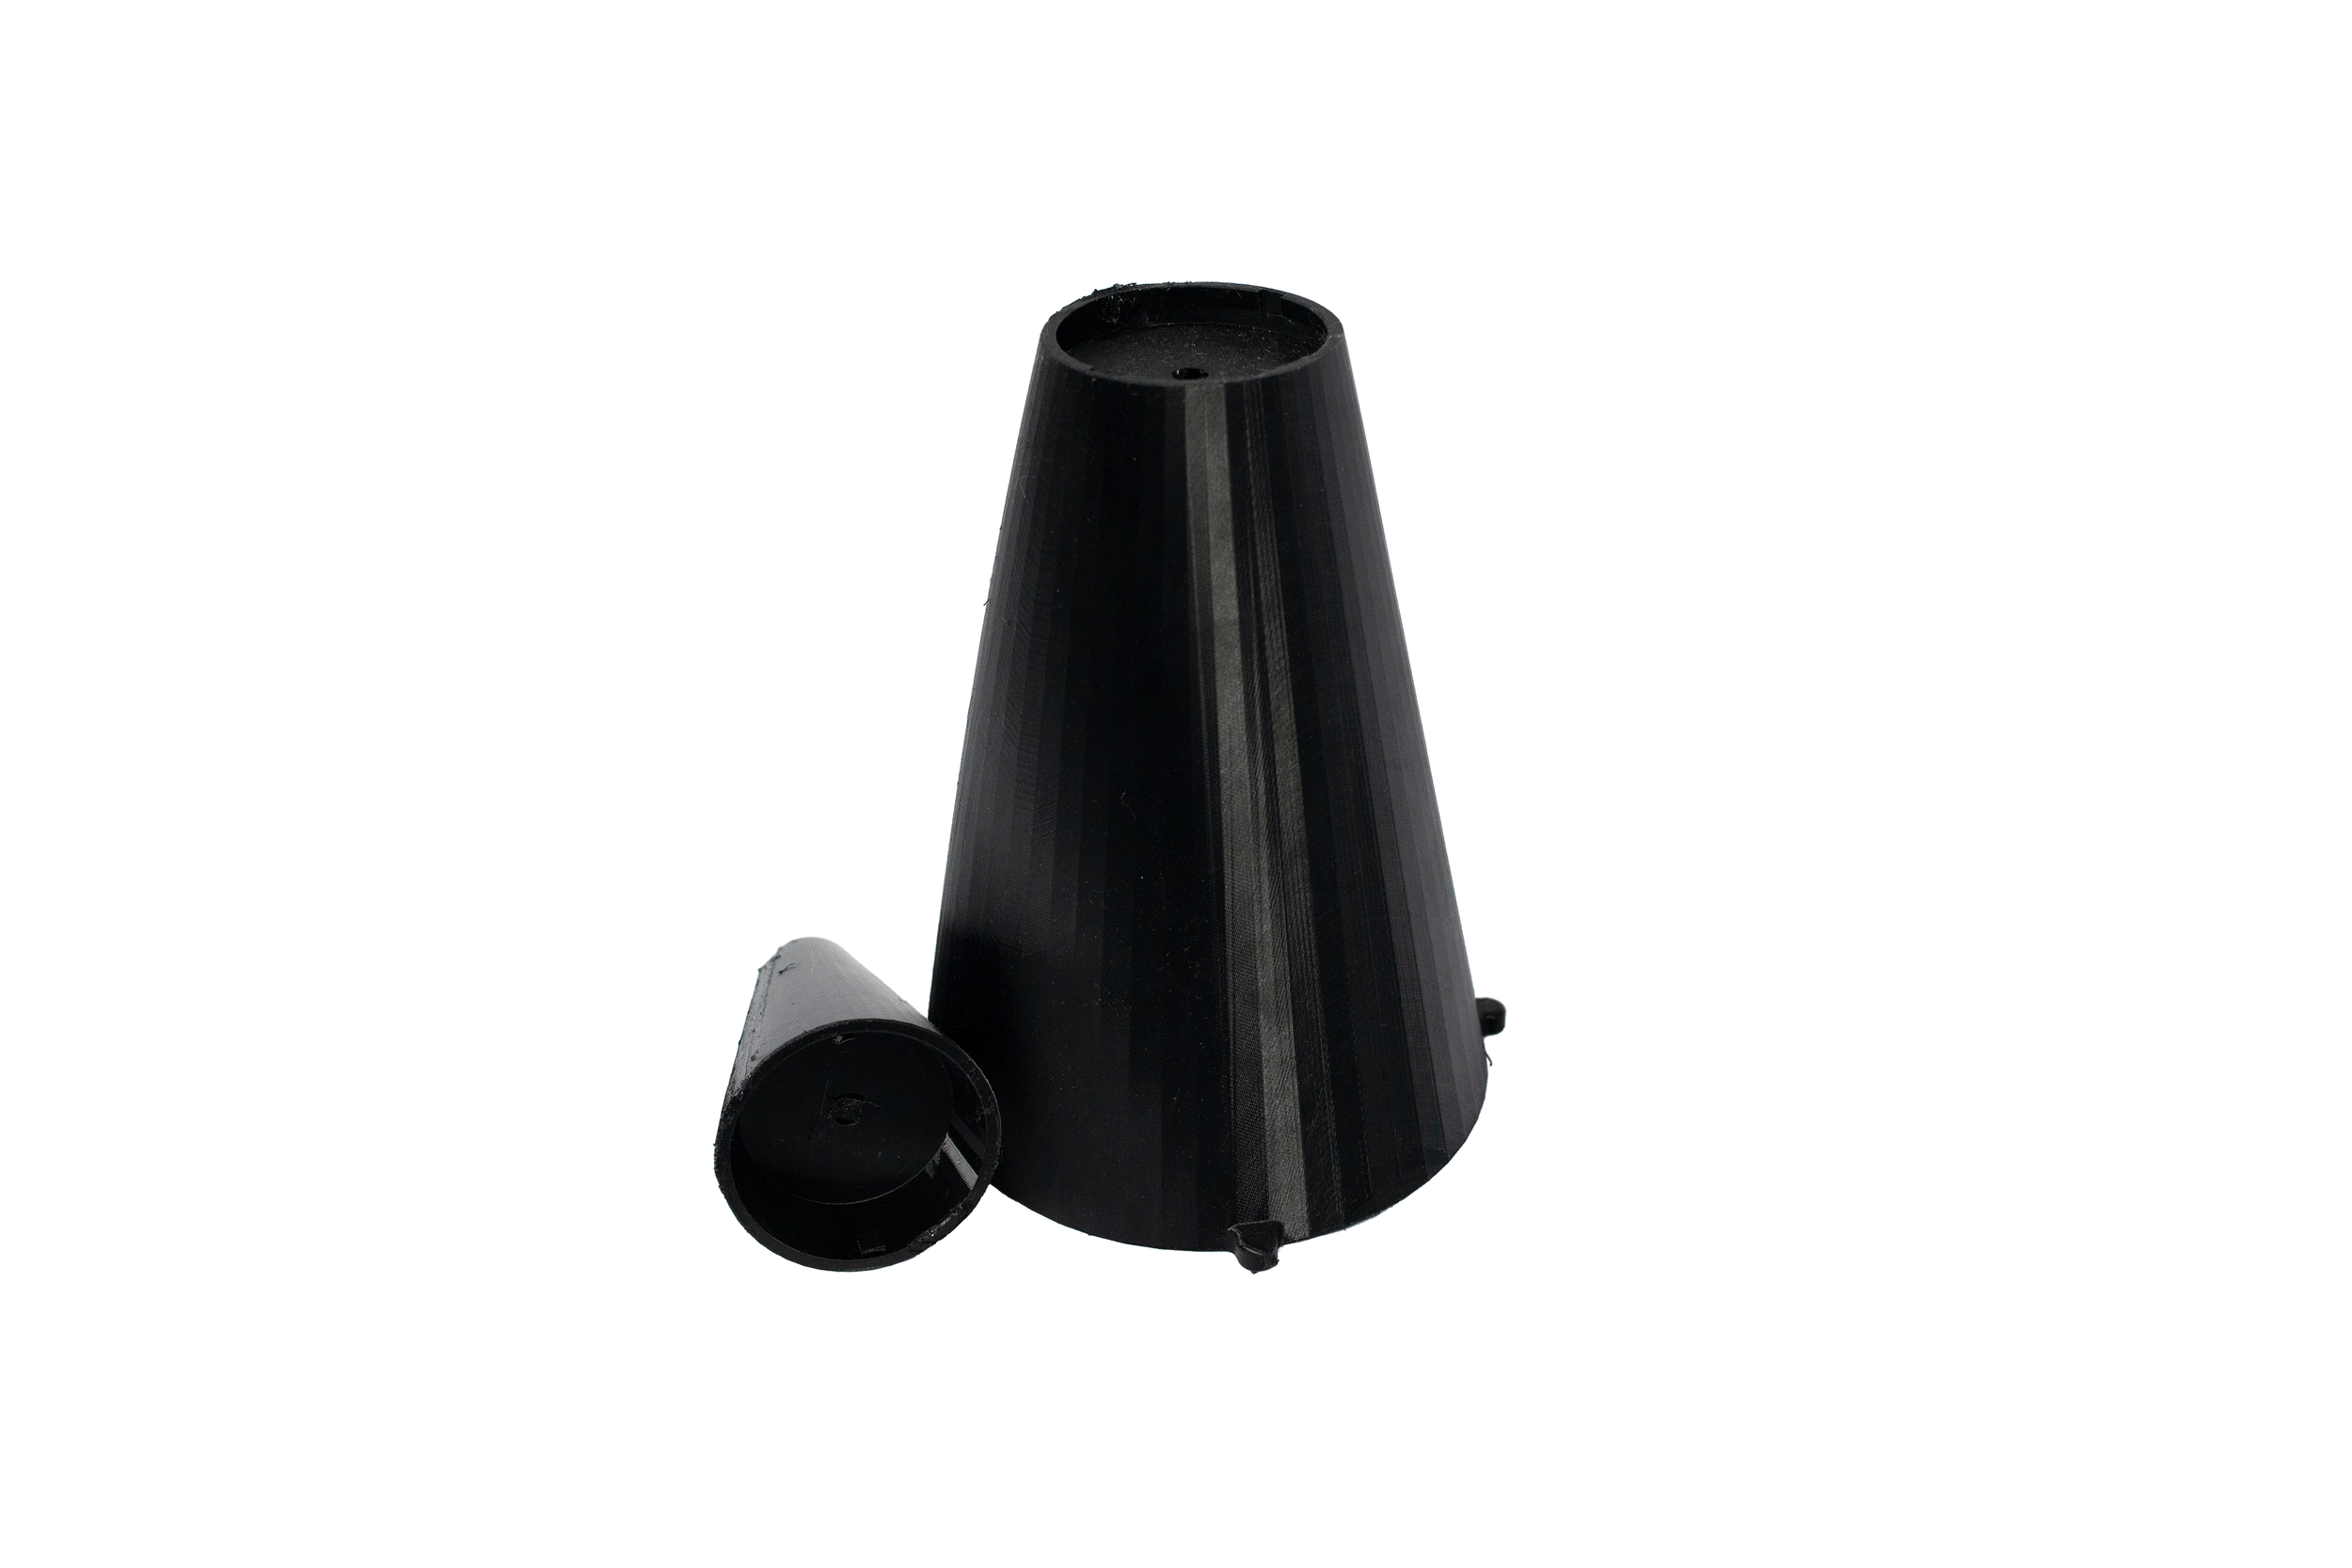
Problems
4 key problems were realized after 3D printing and testing the first cone prototype
The slot-and-twist joint is weak, and when laid on its side the weight of the cone pressures the joint and snaps it
There is not enough room for the electrical components between the two “shelves”
The system of pulling wires through holes in each shelf does not work because these components are already soldered to the speaker driver. If the components were instead soldered after being placed inside the speaker, it would make disassembly for repairs or changes very difficult.
The main body did not fit over the speaker because of asymmetry created by the speaker connection bracket. The cone was designed to be slim and realistically proportioned with protruding screw holes, but this will not work.
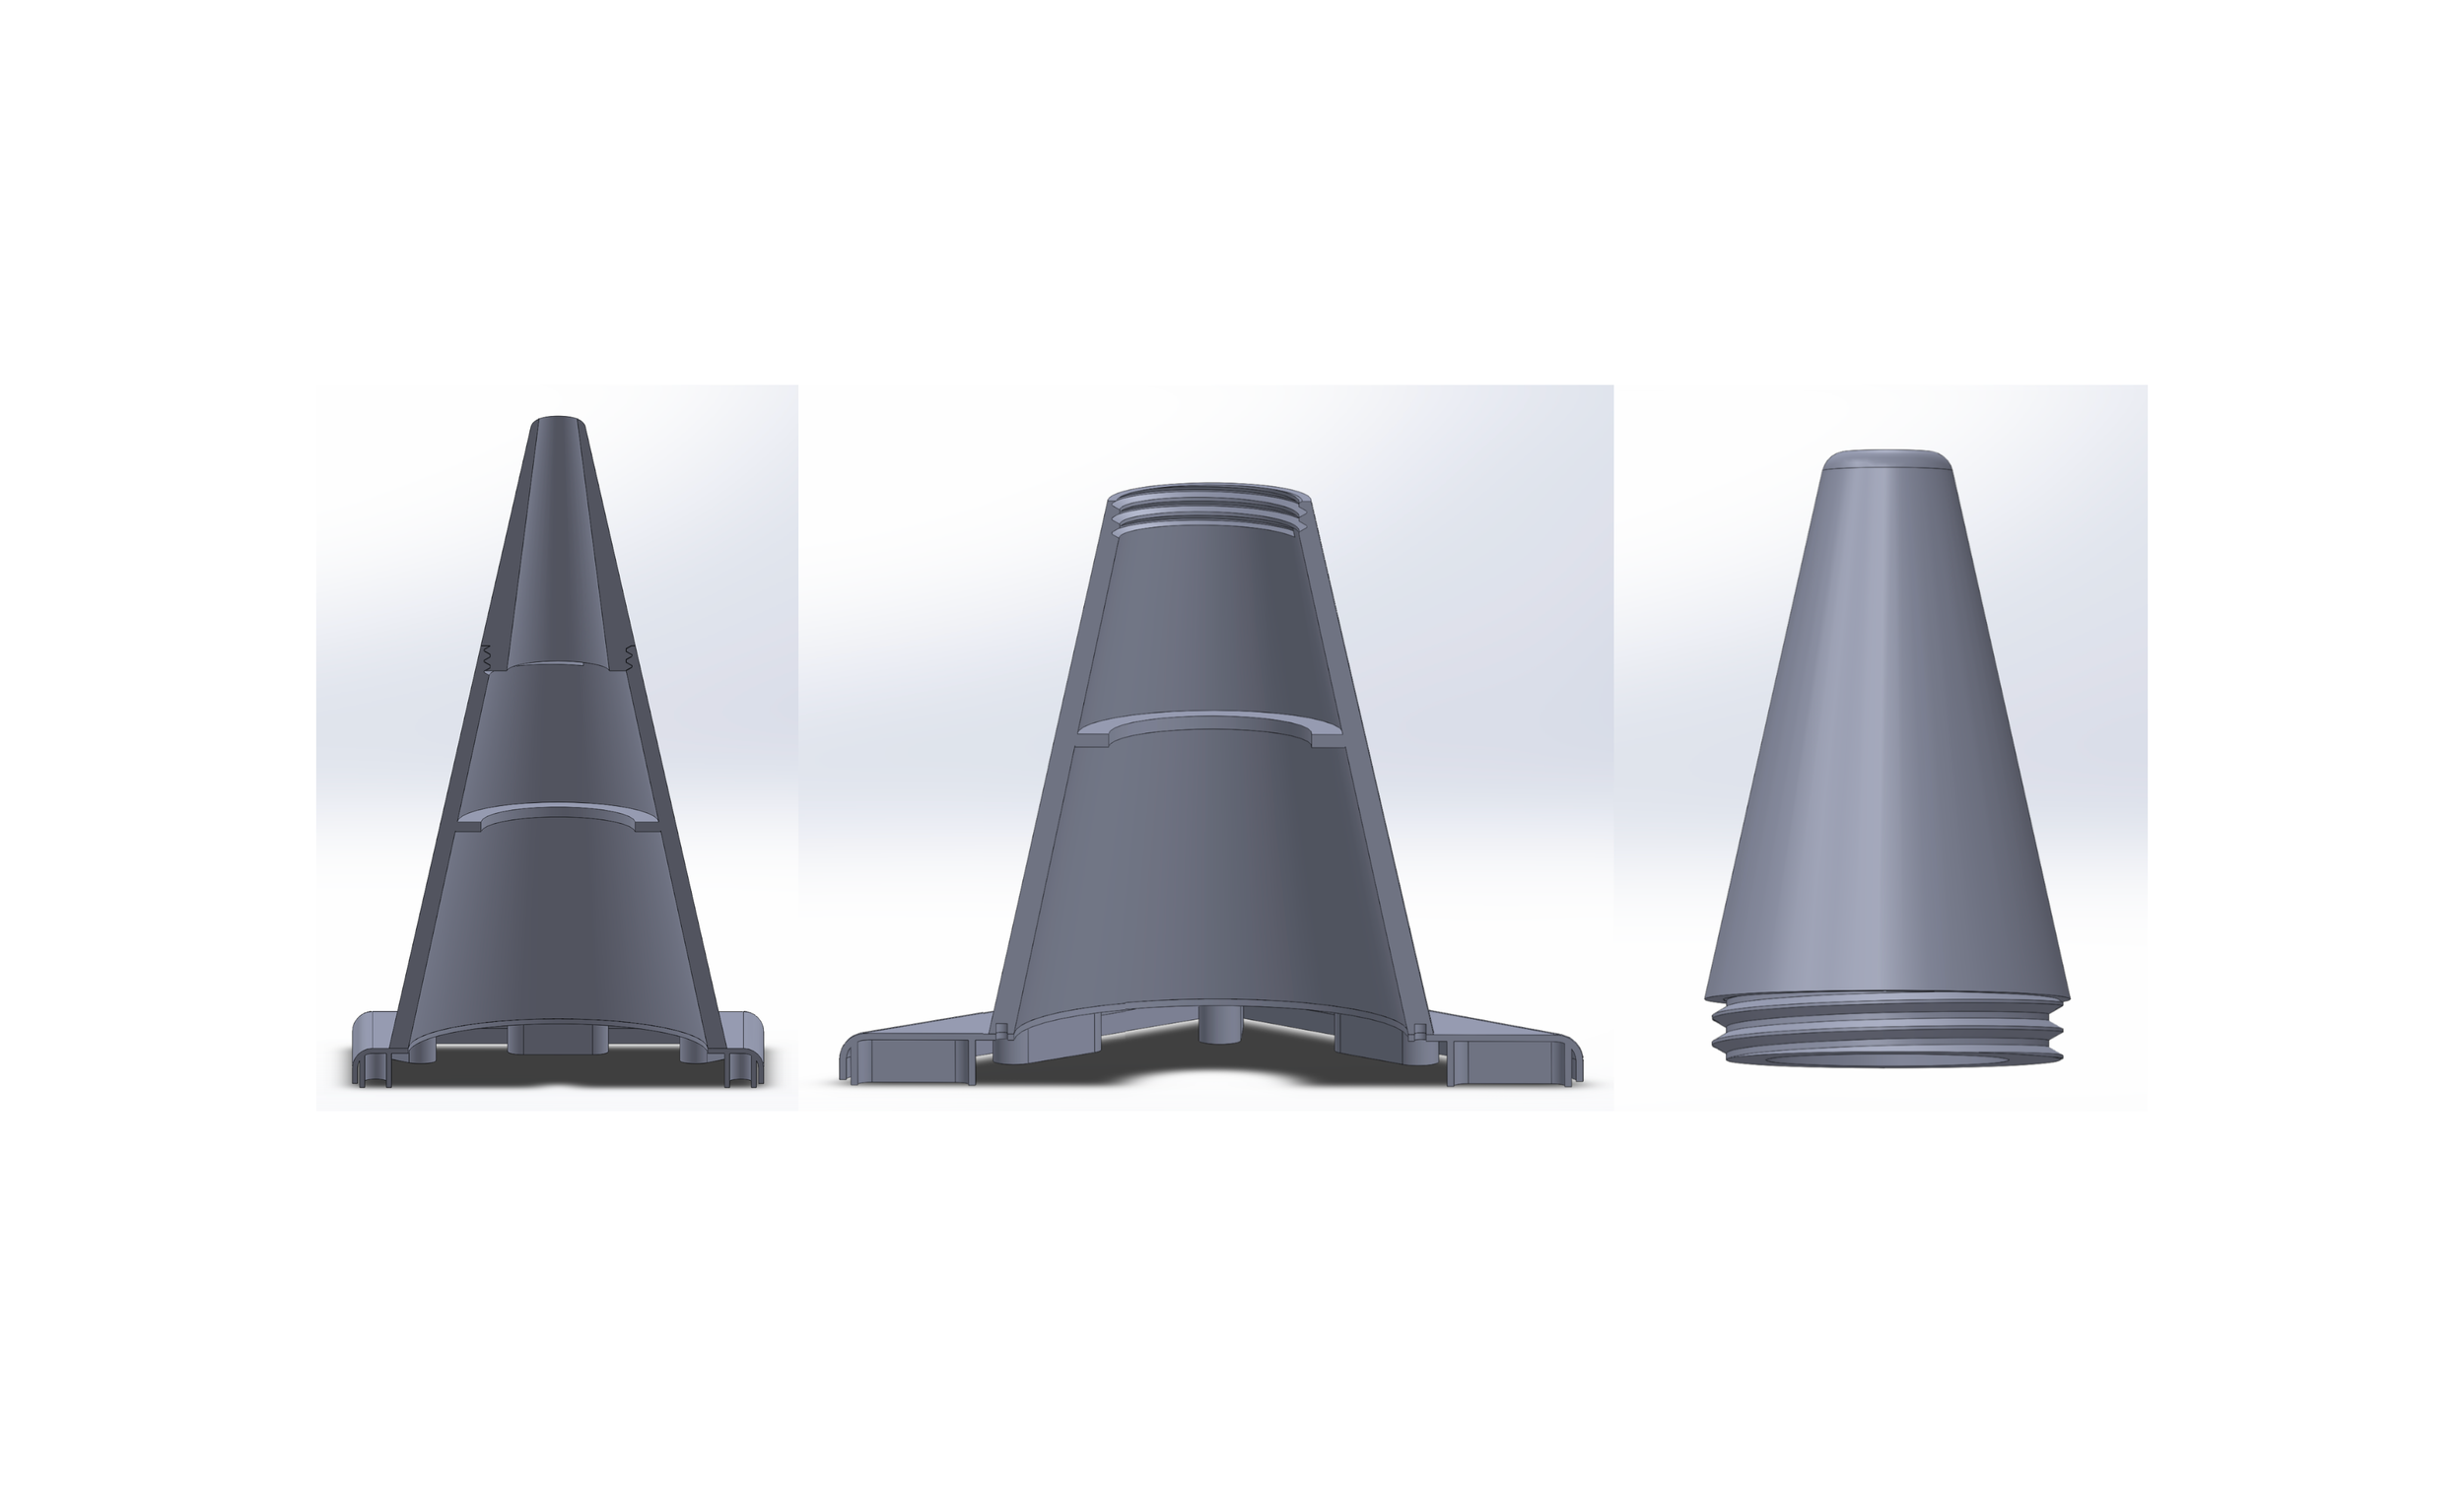
Solutions
Join the tip to the main body with a thick screw thread
House all of the electrical components in a compartment below the screw thread, entirely in the main body. This will prevent the wires getting caught and damaged while screwing on the tip and give a wider diameter for storage.
Make the cone body wider and thicker to integrate screw holes into its width profile. This simplifies the overall form of the traffic cone in a more realistic way with the exception of now appearing wider than a real traffic cone. The base is made proportionally larger as a result to compensate for this.
The Mounting Board
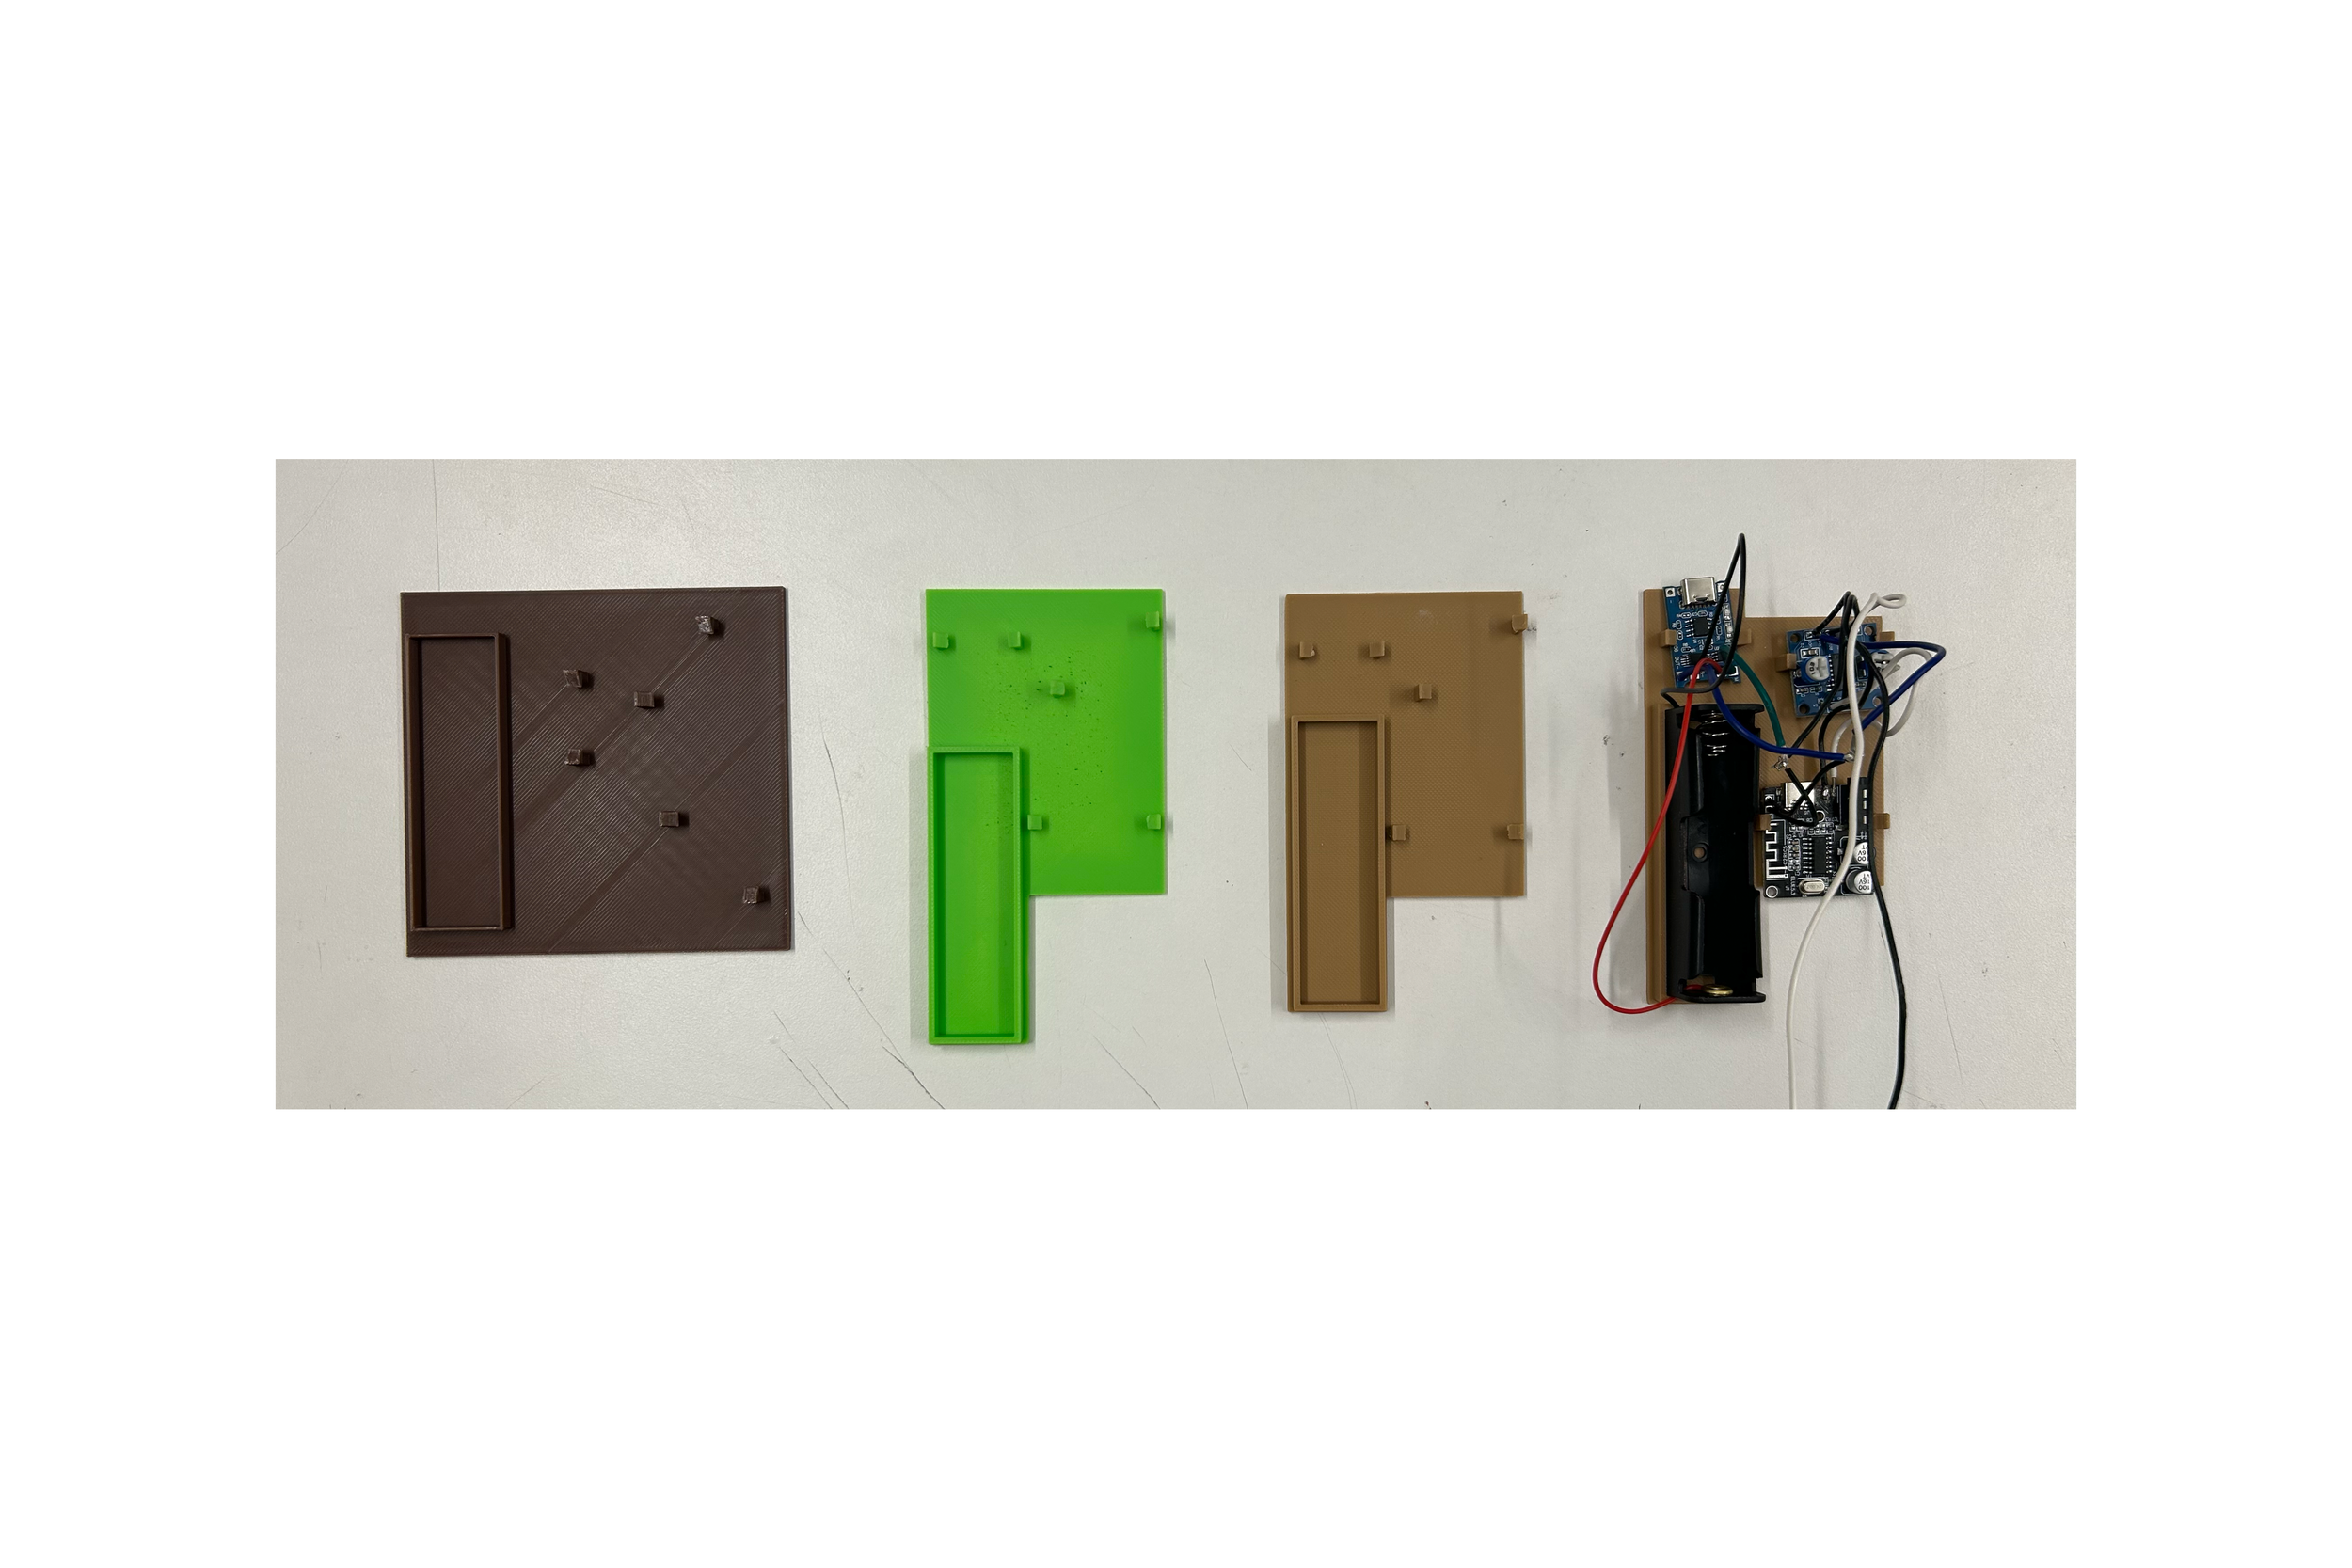
To make the electrical components secure, so that none of the connections break, I decided to create a mounting board that the components would attach to using pressure fits and snap hooks.
Tinkering first with the arrangement of the components, I produced several iterations of prototypes to get the components secured on the smallest mounting board possible to help with fitting them inside the traffic cone.
The battery was arranged intentionally to extend the board and create an interior corner that could hook onto the ledge inside the cone body, keeping the mounting board in its designated area.
Challenges With Finishing Touches
Lack of spray painting experience led to several instances of error and correction throughout the painting process.
The reflective adhesive strips for the cone were poor quality and arrived heavily creased. I purchased a larger sheet of reflective adhesive and came up with a pattern through trial and error.
The screw mechanism had a very tight fit. I was able to sand and lubricate the threads instead of reprinting the whole part

Outcome
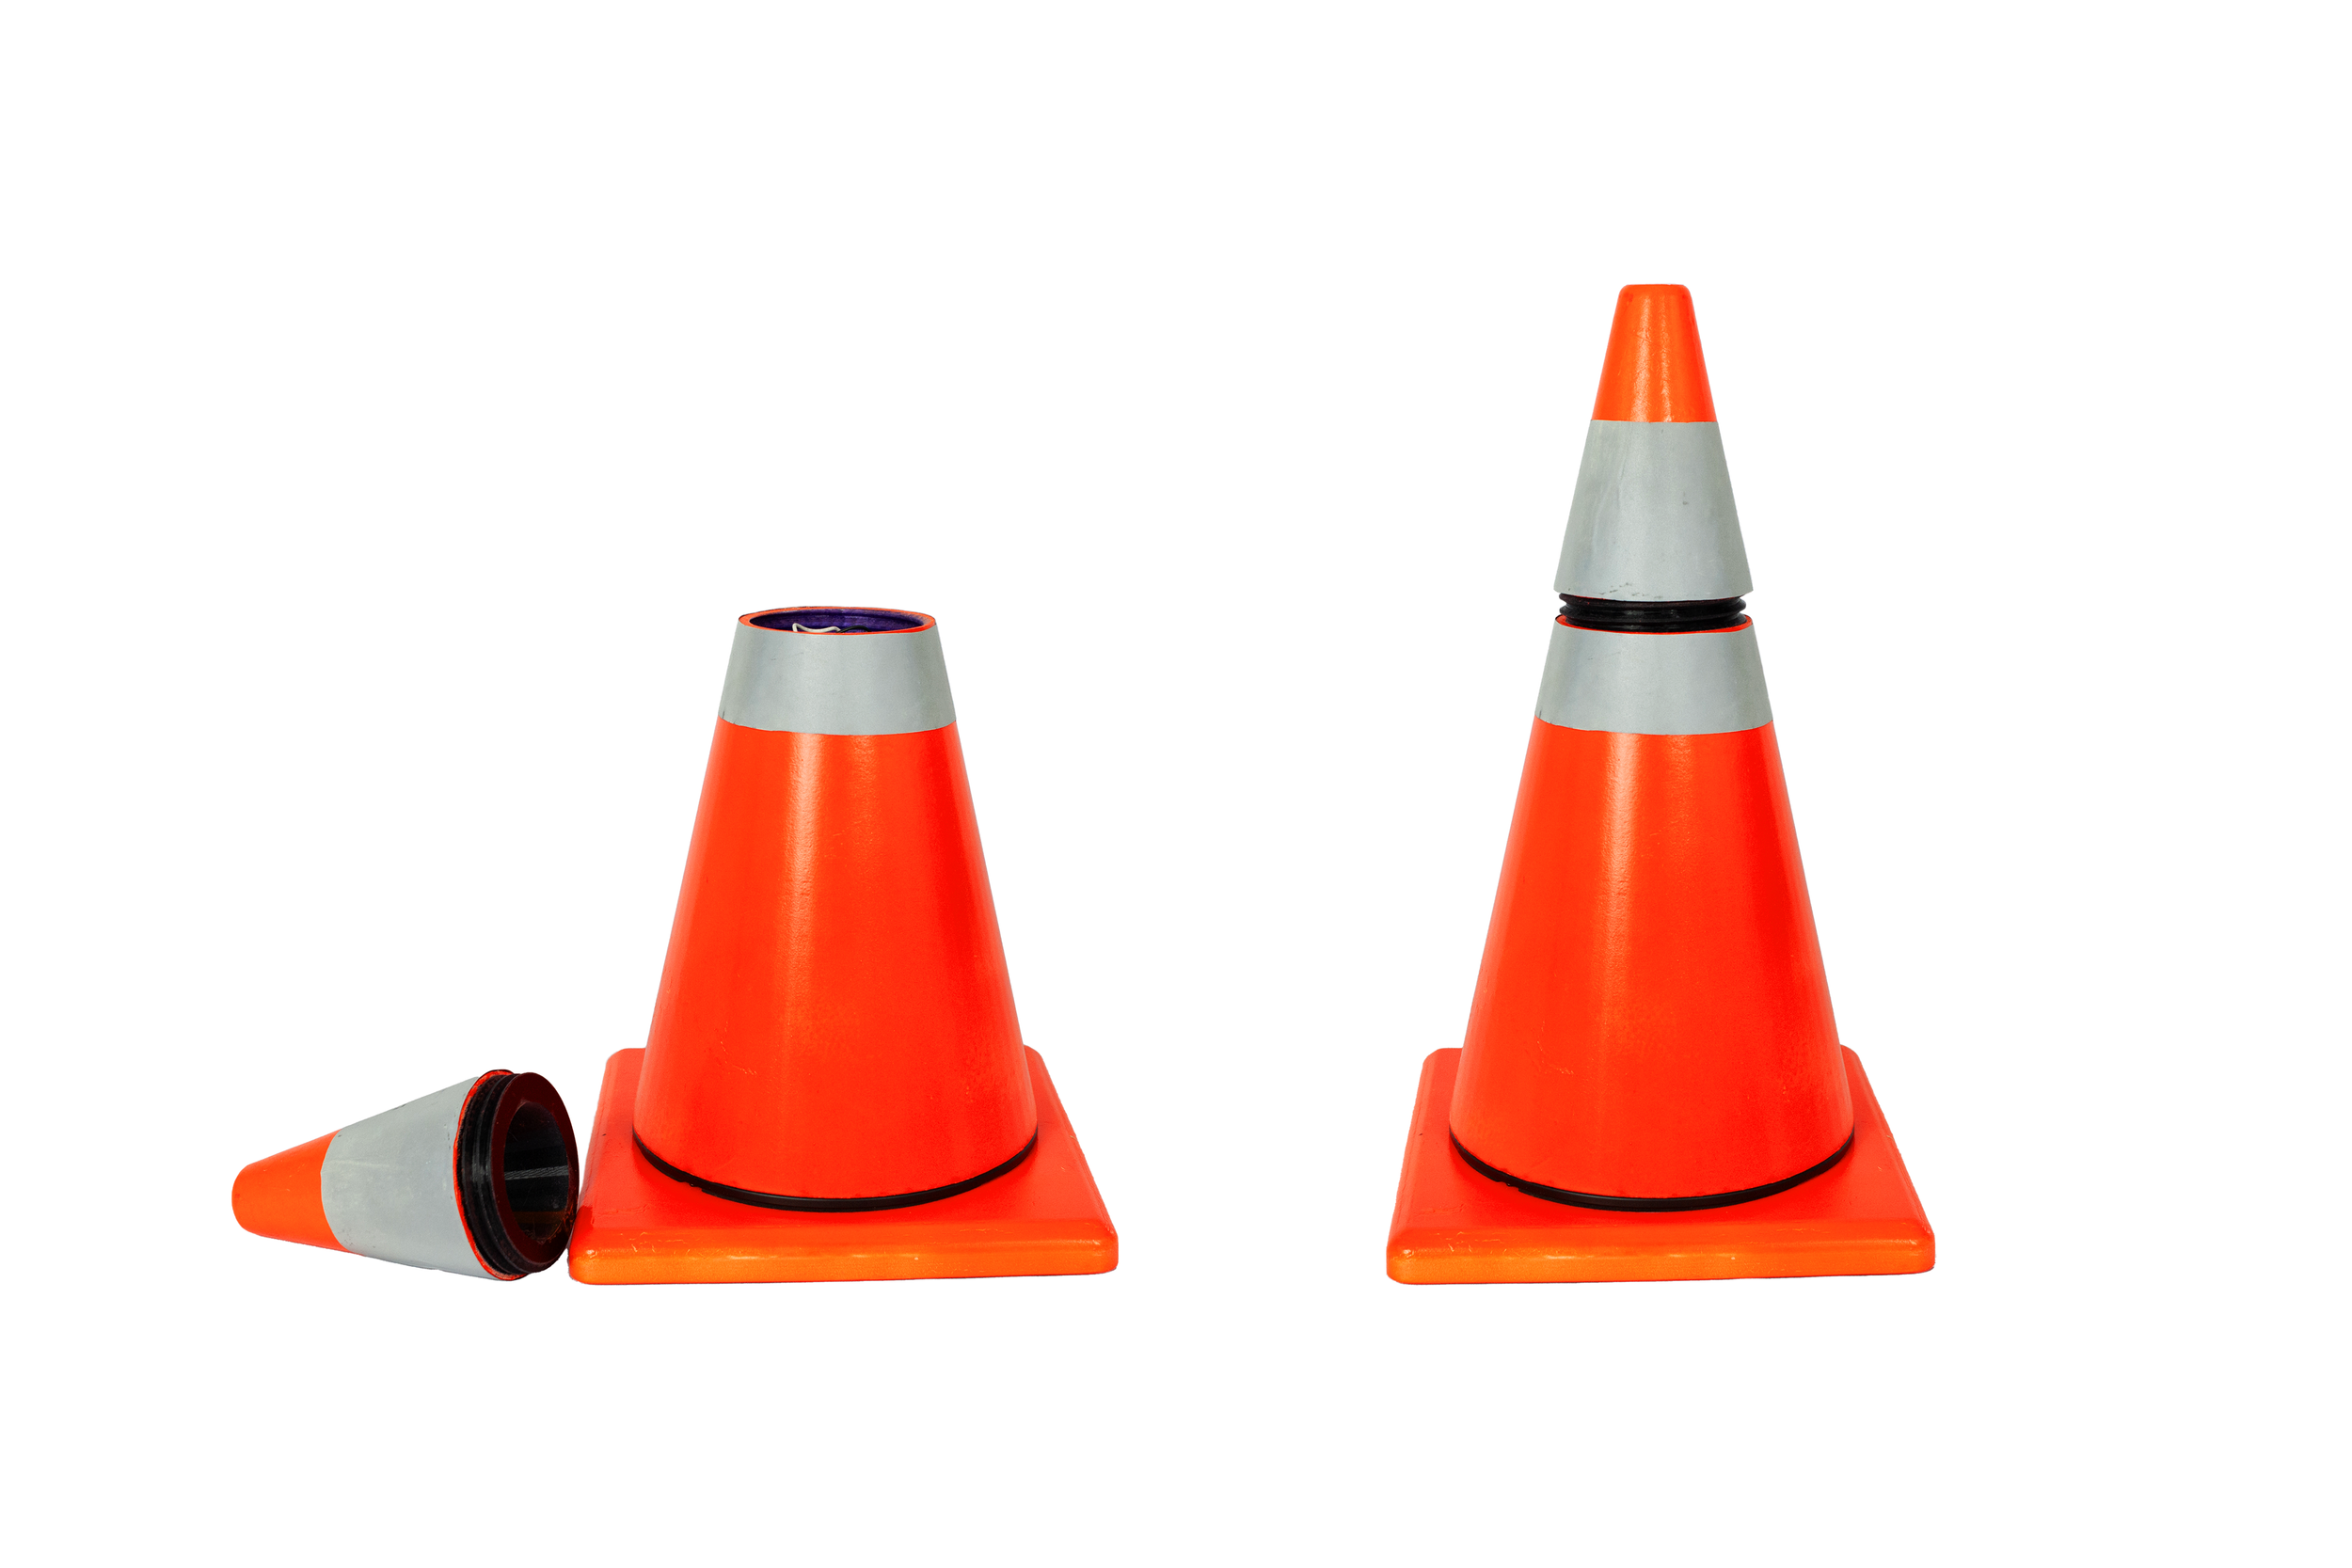
The speaker functions perfectly, and produces sound at an impressive quality level - people actually want to use it
People have approached the speaker thinking it was an actual traffic cone - realism was a success
The speaker is sturdy and no parts have experienced functional damage or failure
What I’M Doing Next
Extending the USB-C charging port to rest inside the tip of the cone to eliminate needing to unscrew and re-attach the tip just to plug in the charging cable
Increasing the battery power to get clearer and louder sound from the speaker
Adding diffusing foam on the inside of the speaker to prevent sound from leaking out